Last updated November 18, 2026







Free written scope consultation - allowances, timeline, and change-order rules on paper before a single trade is scheduled
Bathroom Remodeling Troubleshooting: Common Problems and How to Fix Them
A bathroom that smells musty six months after a full remodel doesn’t have a cleaning problem. It has a waterproofing failure behind the tile, and that failure has been quietly growing since the grout dried. The same is true of a floor that feels soft underfoot near the shower, or a ceiling stain in the room below a second-floor bath. These aren’t random. They’re signatures. Each points to a specific failure point in the assembly, and knowing which signature belongs to which failure is the difference between a targeted repair and tearing out a wall hoping to find the problem. This guide walks through the three root causes behind most post-remodel bathroom problems, how to read the symptoms, and when to call a professional in Enterprise.
Quick Answer
Most bathroom remodel problems that surface after completion come from one of three root causes: waterproofing shortcuts behind tile, drain system oversights at the flange or pan, or exhaust ventilation that doesn’t actually move air. The symptom tells you which one. A musty smell with no visible water points to waterproofing. A soft spot or stain directly below the shower points to the drain assembly or pan liner. Fogged mirrors and peeling paint that return every few weeks point to the exhaust fan. Diagnosis first, repair second, and document everything if a warranty claim is on the table.
Styles & brands we work with
- Kitchen remodeling
- Bathroom remodeling
- Home additions & ADU
- Roofing
- Windows & doors
- Driveway & pavers
- Fence
Table of Contents
- Diagnosing Water Stains, Soft Floors, and Musty Smells
- Tile Lippage, Grout Cracking, and Loose Tiles
- Exhaust Fan Performance: The Underdiagnosed Problem in Desert Bathrooms
- Plumbing Rough-In Problems That Only Show Up After Use
- How to Document a Remodeling Defect for a Warranty Claim
- When to Call a Professional vs. Fix It Yourself
- The Mistakes That Cause These Problems in the First Place
- Frequently Asked Questions
Diagnosing Water Stains, Soft Floors, and Musty Smells
Three different failures produce three different signatures, and the repair scope varies by thousands of dollars. Knowing which one you’re looking at before the contractor arrives is the single most useful thing you can do.
Grout failure is the least expensive to fix. The symptom is dark grout lines that stay dark after cleaning, especially at the base of the shower walls and the floor-to-wall joint. Grout cracks from settling, or it was never sealed, and water wicks into the mortar bed behind the tile. If caught early, re-grouting and re-sealing stops the intrusion. If ignored for two years, the mortar bed stays saturated and the moisture migrates into the wall cavity.
Membrane failure is the expensive one. Behind the tile there’s a waterproof membrane (a sheet or a liquid-applied coating, depending on the system). If it was installed without proper overlap at the seams, or punctured during tile installation, water passes into the framing. The signature here is a musty smell that doesn’t go away after cleaning, soft drywall on the opposite side of the shower wall, or a ceiling stain one floor below. A membrane failure means removing tile to the studs over the affected area and redoing the waterproofing. Expect $2,800 to $6,500 for a localized repair depending on tile replacement matching.
Drain flange failure shows up differently. The shower drain has a clamping ring that holds the pan liner. If it wasn’t tightened properly, or the weep holes are clogged with thinset, water pools under the tile bed around the drain and finds its way out at the ceiling below. The signature is a stain that’s directly beneath the drain location, not spread across the full shower footprint. Repair scope typically runs $1,500 to $3,500 depending on how much tile has to come up.
Sorting these three apart is the core skill of bathroom remodeling troubleshooting. Walk into the room in the morning before the shower runs. Smell for dampness. Look up at the ceiling below. Press down on the floor near the drain with the heel of your hand. Each test points at one of the three.
Tile Lippage, Grout Cracking, and Loose Tiles
Tile problems almost always trace back to sequencing during installation, not the tile itself. Cheap tile on a perfect substrate will hold. Expensive tile on a bad substrate will fail. The question every homeowner asks is: will re-grouting hold, or is the substrate the real problem? Here’s how to tell.
Lippage is when one tile edge sits higher than the adjacent tile, creating a sharp lip you can feel with a finger. Small lippage (up to 1/32 inch) is within accepted tolerance and mostly cosmetic. Larger lippage means the substrate wasn’t flat when the tile was set. The cause is usually a cement board or mud bed that was out of level by more than the thinset could bridge, or a large-format tile installed without a leveling clip system. Re-grouting won’t fix lippage. It’s a substrate problem, and fixing it means removing the affected tile.
Grout cracking falls into two categories. Hairline cracks along a single grout line between wall and floor are often caused by movement at a change of plane. Those joints should have been caulked, not grouted. Fix: dig out the grout, replace with a color-matched flexible sealant. Cracks that form a spiderweb pattern across many tiles indicate deflection, meaning the floor structure moves under load. That’s a framing problem and re-grouting will fail within a year.
Loose tiles that sound hollow when tapped (use a plastic screwdriver handle, not a metal tool) mean the thinset didn’t bond. Common causes in our experience in Enterprise:
- Thinset mixed too dry and skimmed over before the tile was set.
- No back-buttering on large-format tiles, leaving voids under the center.
- Installing over a dusty or sealed substrate without a bonding primer.
- Skipping an uncoupling membrane on a slab, so seasonal slab movement cracks tile over time.
If more than a handful of tiles are hollow when tapped, the installation as a whole is suspect. Re-grouting won’t hold because the bond behind the tile is gone. The honest answer in that case is a re-tile, and a claim against the original installer’s workmanship.
Exhaust Fan Performance: The Underdiagnosed Problem in Desert Bathrooms
Exhaust fans are the most underdiagnosed problem in Enterprise bathrooms. The desert climate hides the failures, because outdoor humidity is often 10% to 20% and the bathroom dries out fast between showers. A fan that moves 30 CFM when it should move 110 CFM will still seem to work, until the wall cavity has trapped moisture for two years and the drywall behind the shower starts peeling.
The performance test you can run in five minutes:
- The tissue test. Hold a single square of toilet paper against the fan grille while the fan is running. A properly ducted, correctly sized fan holds the paper firmly. A weak one lets it flutter or drop. This is a rough test but catches obvious failures.
- The mirror test. Run the shower for five minutes with the door closed and the fan on. Fog on the mirror should clear within two to four minutes after the shower ends. If it doesn’t clear, or if it clears slowly, air is not moving.
- The airflow measurement. A cheap handheld anemometer ($30 to $50 online) held against the grille gives you a CFM number. Multiply by the grille area and you’ll get a rough reading. The Department of Energy baseline is 1 CFM per square foot of bathroom floor, and most building codes require the fan to be ducted outside the building envelope, not into the attic.
- The duct check. If you can access the attic, look at where the fan duct goes. If it terminates in the attic space and not through the roof or a gable, that’s a code violation and a real moisture problem waiting to happen.
The three failure modes, ranked by frequency in Enterprise:
- Undersized fan. A 50 CFM builder-grade fan in a 100-square-foot bathroom that should have a 110 CFM unit. The fan was installed per the original spec but the spec was wrong. Fix: replace the fan, $250 to $550 installed.
- Improper ducting. Duct routed into the attic, or a long flexible duct with too many bends, or a duct run that exceeds the fan’s rated static pressure. Fix: reroute the duct, $400 to $900 depending on route.
- Clogged fan. Lint and dust on the fan blades and grille reduce airflow by 20% to 50% within a few years. Cleaning takes 15 minutes. Fix: free if you do it, $100 to $150 for a maintenance call.
If you’re planning a bathroom renovation in Enterprise and the current fan is builder-grade, replacing it with a properly sized, ducted unit is worth the money. The humidistat-controlled versions are worth even more, because they run until the room is actually dry instead of until you flip the switch.
Plumbing Rough-In Problems That Only Show Up After Use
Plumbing rough-in errors don’t show up during the final walkthrough. They show up two weeks later, after the fixtures have been used and the toilet paper has gotten wet once or twice. Here’s how to read the three most common symptoms.
Slow drains in a new shower or sink are almost never a clog. A brand-new drain can’t have hair buildup yet. The causes are:
- Improper vent. The drain needs a vent to the roof, and if the vent was never tied in or tied in wrong, the drain glugs and runs slow. You’ll hear it gurgle as the trap is pulled.
- Wrong pitch on the drain line. A drain line needs 1/4 inch of fall per linear foot. Too much slope causes the water to outrun the solids; too little and the line holds standing water. Both read as slow.
- Debris in the trap. Construction debris, tile grout, or an overturned bucket of thinset can end up in the trap arm. This is common and fixable without opening walls.
A running toilet after a flapper replacement is usually a seating issue, not a flapper failure. Either the flapper was not seated square on the valve seat, or the seat itself is pitted from mineral deposits. In Enterprise, our water is hard enough that mineral buildup on the flush valve is more common than on the flapper. If the toilet was reinstalled during the remodel, the flapper may also be the wrong size for the tank, or the fill valve is set too high. Check the water level against the marked line inside the tank before replacing anything else.
Low hot water pressure at a new fixture points in one of two directions. If only one fixture is affected, the issue is usually scale or debris at the fixture’s aerator or cartridge. Remove the aerator and rinse it. If multiple fixtures are affected, look at the water heater’s dip tube, the shutoff valve at the heater, or the supply line sizing. In a remodel, it’s often a shutoff valve left half-closed, or a flexible supply line with a kink.
Plumbing re-opens walls when the diagnosis is wrong. If you can’t confidently identify which branch line is slow, get a professional in. Guessing is expensive.
How to Document a Remodeling Defect for a Warranty Claim
There’s a real difference between a complaint and a documented claim. A complaint is a phone call: “the shower smells.” A documented claim is a paper trail the contractor can’t dismiss and, in some cases, a judge won’t either. If the remodel was completed by a contractor who offers a workmanship warranty, documenting properly protects it. Groundwork Construction Co. backs every project with our 730-Day Done Right Promise, and we make it easy for homeowners to file a claim because the warranty protects them exactly when they need it. But the process for any contractor’s warranty follows the same rules.
Step 1: Capture the timeline. Photograph the problem on the day you first notice it. Open the notes app on your phone and write the date, the room, and what you saw. A photo with a date stamp is worth more than a memory three months later. Take a wide shot of the room, a medium shot of the affected area, and a close-up.
Step 2: Photograph the same spot every two weeks. A stain that’s growing or a mold patch that’s expanding establishes progression. Progression is what separates a manufacturing defect from an installation failure.
Step 3: Keep the original contract, the final invoice, and the change orders together in one folder. The warranty claim depends on the paper trail showing what was in scope. If the shower waterproofing wasn’t in the written scope, the contractor will point at that. If it was, you have grounds.
Step 4: Write a single-page summary. Date of completion, date of first symptom, what you observed, what you’ve done so far, what you want. Send it by email so you have a timestamp. Attach the photos. Keep it under one page. Short, factual, no editorializing.
Step 5: Request the contractor’s written response. A proper warranty process produces a written assessment: what the contractor found, what caused it, and what they’ll do about it. If the response is verbal, ask for it in writing. If it’s “that’s not covered,” ask for the section of the warranty that says so.
If the contractor won’t engage in writing, the paper trail is what you take to your credit card company, your state contractor licensing board, or an attorney. Documented claims get resolved far more often than phone complaints, and much faster.
When to Call a Professional vs. Fix It Yourself
Some of these problems are DIY-able. Others are not, and trying to fix them yourself can void warranties and create bigger problems. Here’s where the line falls.
DIY-able: Cleaning an exhaust fan grille and blades, replacing an aerator, checking a toilet’s water level, re-caulking a change-of-plane joint (with a color-matched sealant, not grout), and re-sealing grout. These are 30-minute to two-hour tasks that don’t require opening walls or touching the plumbing or electrical system.
Call a professional: Any suspected membrane or drain flange failure (this involves removing tile and re-waterproofing), a running toilet that persists after a flapper replacement (this can mean a valve seat issue or a supply line problem), a slow drain that might be a vent or pitch issue, low water pressure at multiple fixtures, and any bathroom exhaust duct that terminates in the attic or fails a CFM test. Water behind a wall or under a floor is expensive to get wrong twice.
If your bathroom remodel was completed within the last year by a licensed contractor, call them first. That’s what the warranty is for. If the original contractor is unreachable, or the warranty has expired, or you’re diagnosing a problem in a bathroom that’s never been properly renovated, that’s when a fresh set of eyes helps. In Enterprise, Groundwork Construction Co. of Enterprise offers free estimates and diagnoses bathroom problems for homeowners every week. Call (844) 797-4406 and we’ll walk the room with you.
The Mistakes That Cause These Problems in the First Place
- Waterproofing the walls but not the floor-to-wall joint with a proper band. This is the single most common cause of shower leaks in Enterprise. The membrane has to run up the wall 6 to 8 inches and be banded at the inside corners. If your contractor didn’t talk about this step, ask the question before the tile goes on.
- Skipping the pre-slope under the shower pan. The mud bed under the liner needs a slope so water drains toward the weep holes. Building code requires it. On slabs, this is often skipped because the concrete “looks sloped.” It isn’t. Skipped pre-slope is the leading cause of floor-level shower failures in Enterprise.
- Setting the exhaust fan spec to whichever unit the supply house has on the shelf. A bathroom fan is not one-size. A 60-square-foot bath and a 120-square-foot bath need different CFM ratings, and a 3×5 closet-grade fan will never keep up. Size it to the room.
- Venting the exhaust fan into the attic instead of through the roof. This causes attic moisture damage in Enterprise homes, and it can also cause roof deck rot that doesn’t show up for years. Every exhaust fan duct needs to terminate outside the building envelope.
- Grouting change-of-plane joints instead of caulking them. Grout is rigid. Joints between wall and floor, or wall and shower pan, move. A rigid grout joint cracks. A flexible sealant joint doesn’t.
- Not testing the plumber’s rough-in before the walls close. A five-minute water test after the rough-in catches almost every slow drain, vent, and leak issue. Ask for a pre-close inspection.
- Installing a new vanity or shower over an old exhaust fan and calling the ventilation done. Old fans are usually oversized for the room they were specced for and undersized for a modern bathroom with a larger shower. If the fan is more than 8 years old, replace it.
Frequently Asked Questions
A musty smell after a bathroom remodel is almost always a waterproofing failure behind tile, not a cleaning problem. Water is trapped in the mortar bed or behind the drywall and evaporating slowly into the room. The only permanent fix involves removing tile to find and repair the membrane. Call (844) 797-4406 for a free diagnosis in Enterprise before the problem spreads into the adjacent wall.
A stain directly beneath the shower drain is most likely the drain flange assembly, and a stain spread across the ceiling below the full shower footprint is more likely a membrane failure. A stain near a wall or under the tub is usually a supply line or drain line issue. Testing with the shower running for 20 minutes in one spot, and then resting the shower for a full day, tells you whether the leak is active at drain time or constant. Call (844) 797-4406 for an exact assessment – estimates are free.
Plan for 1 CFM per square foot of bathroom floor at minimum, per Department of Energy guidance. A 100-square-foot bathroom needs 100 CFM. If the fan is ducted more than 10 feet, add 10% to 20% to account for static pressure loss. Most builder-grade fans are 50 to 80 CFM, which is why so many Enterprise bathrooms have chronic moisture problems. Call (844) 797-4406 for a free ventilation consult.
Re-grouting fixes cracked grout in change-of-plane joints and cracks that run along a single line, provided the waterproofing behind the tile is intact. Re-grouting does not fix spiderweb cracking across a floor, lippage, or hollow-sounding tiles – those indicate substrate or bonding failures that go deeper than the grout. Call (844) 797-4406 for a free diagnosis to determine which type you have.
Not if the defect falls under their workmanship warranty. The key is documentation: maintain the original contract, the change orders, dated photos of the problem, and a written claim. Any reputable contractor will fix their own work under warranty. Groundwork Construction Co. backs every project with the 730-Day Done Right Promise, so if we installed it, we fix it. Call (844) 797-4406 if you’re not sure whether your current issue is covered.
Yes. The low desert humidity means an undersized exhaust fan can seem to work because the air dries fast between uses. The problem stays hidden until moisture has had time to do its damage in the wall cavity. The rapid day-night temperature swings also stress change-of-plane joints more than in a mild climate, so caulked joints in Enterprise need to be flexible-sealant, not grout. Slab-on-grade construction in Enterprise makes pre-slope errors on shower pans especially common. Call (844) 797-4406 for a free diagnosis.
The Bottom Line
Most bathroom remodel problems map to one of three root causes: waterproofing, drain assembly, or ventilation. The symptom tells you which. A musty smell with no visible water is a membrane problem. A stain directly under the drain is a flange problem. Fogged mirrors and recurring moisture point to the fan. Fixing the right cause is the difference between a $400 repair and a $6,500 one, and documenting well protects your warranty along the way. If you’re not sure what you’re looking at, a free estimate from a professional in Enterprise is the cheaper call.
If you’re planning a bathroom remodel, or dealing with problems from one that was already completed, we walk the room with you, diagnose the issue, and give you a written line-item estimate before any work begins. Our technicians have up to 12 years of experience and arrive in uniform, background-checked. Every project is backed by our 730-Day Done Right Promise and our no-hassle upfront pricing. Explore Groundwork Construction Co. of Enterprise home for what we do across the home, and see how we handle the complete bathroom renovation scope.
Call (844) 797-4406 for a free estimate in Enterprise. A live person answers 24/7, and we’ll have a real conversation about what the room needs before we ever quote a number.
Written by the team at Groundwork Construction Co. of Enterprise.
See the difference
 Before
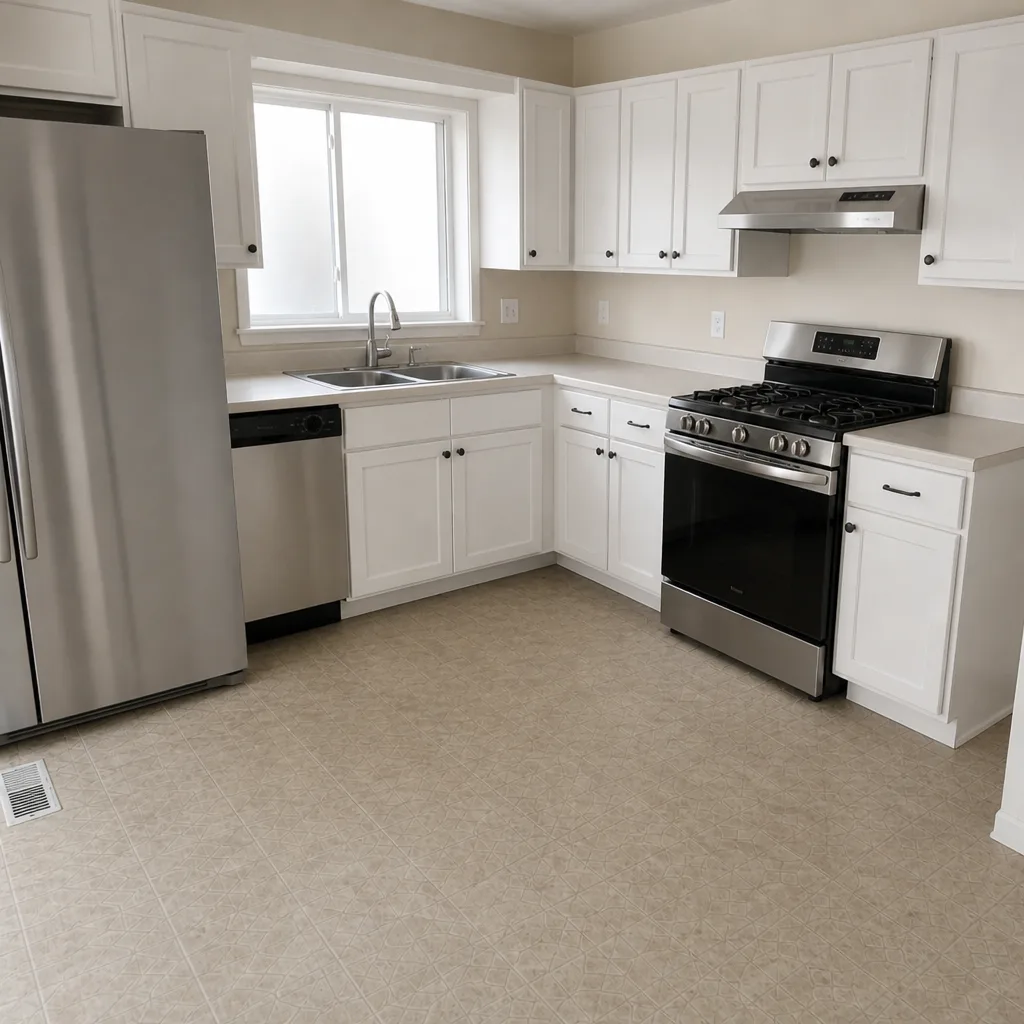 After
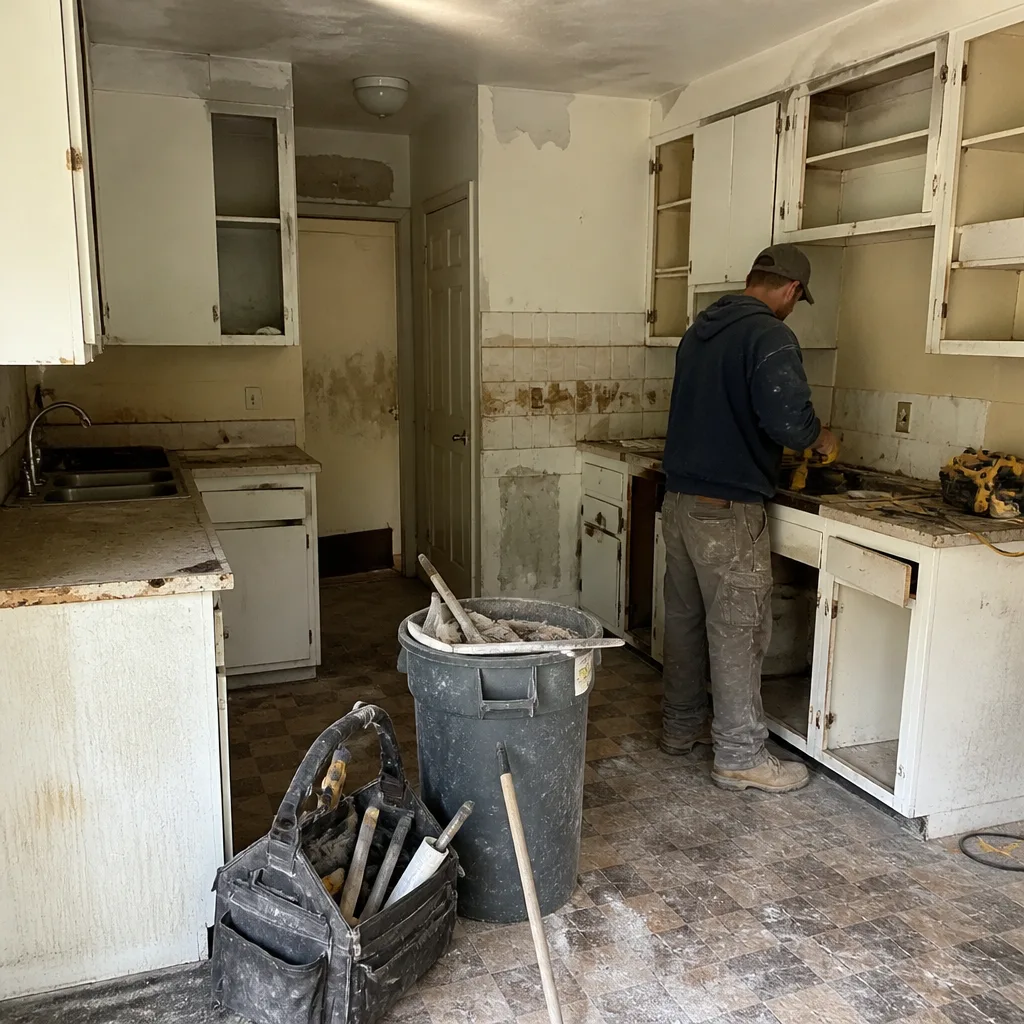 Before
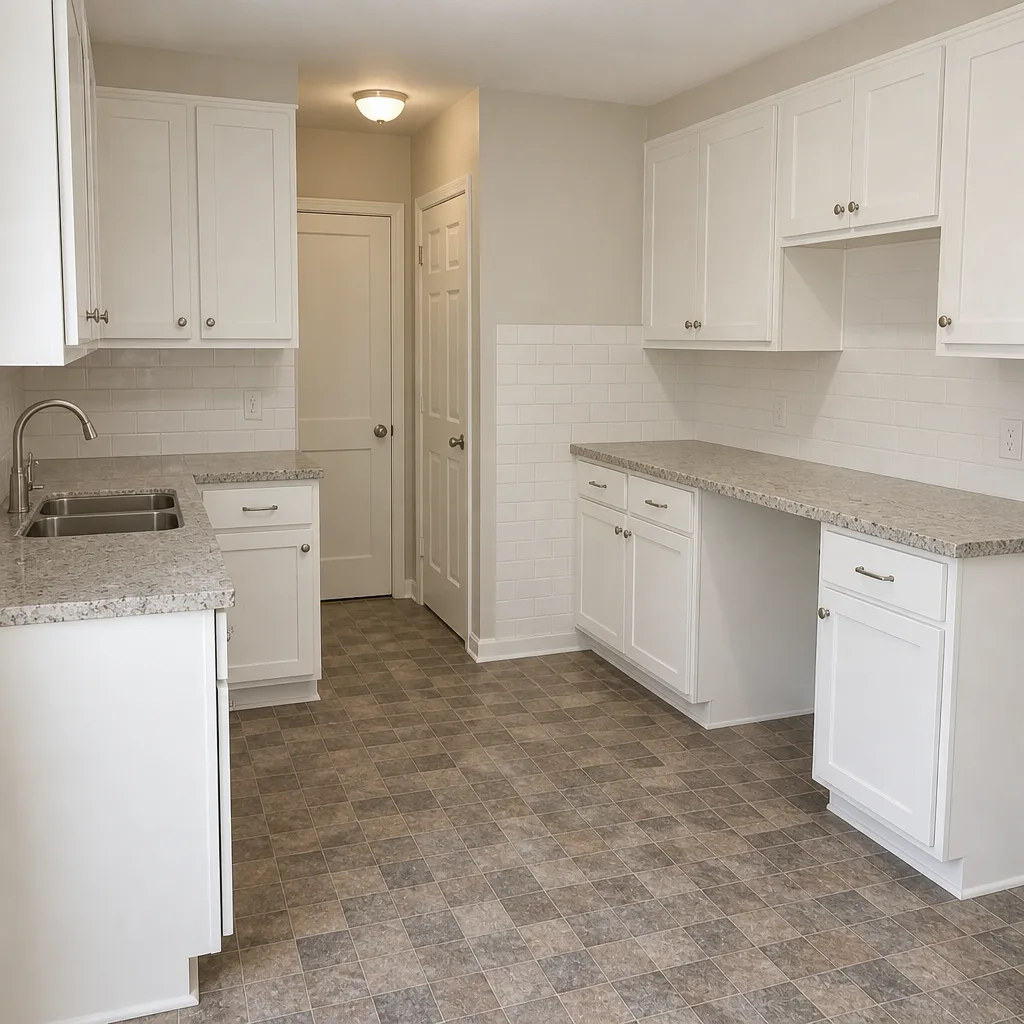 After
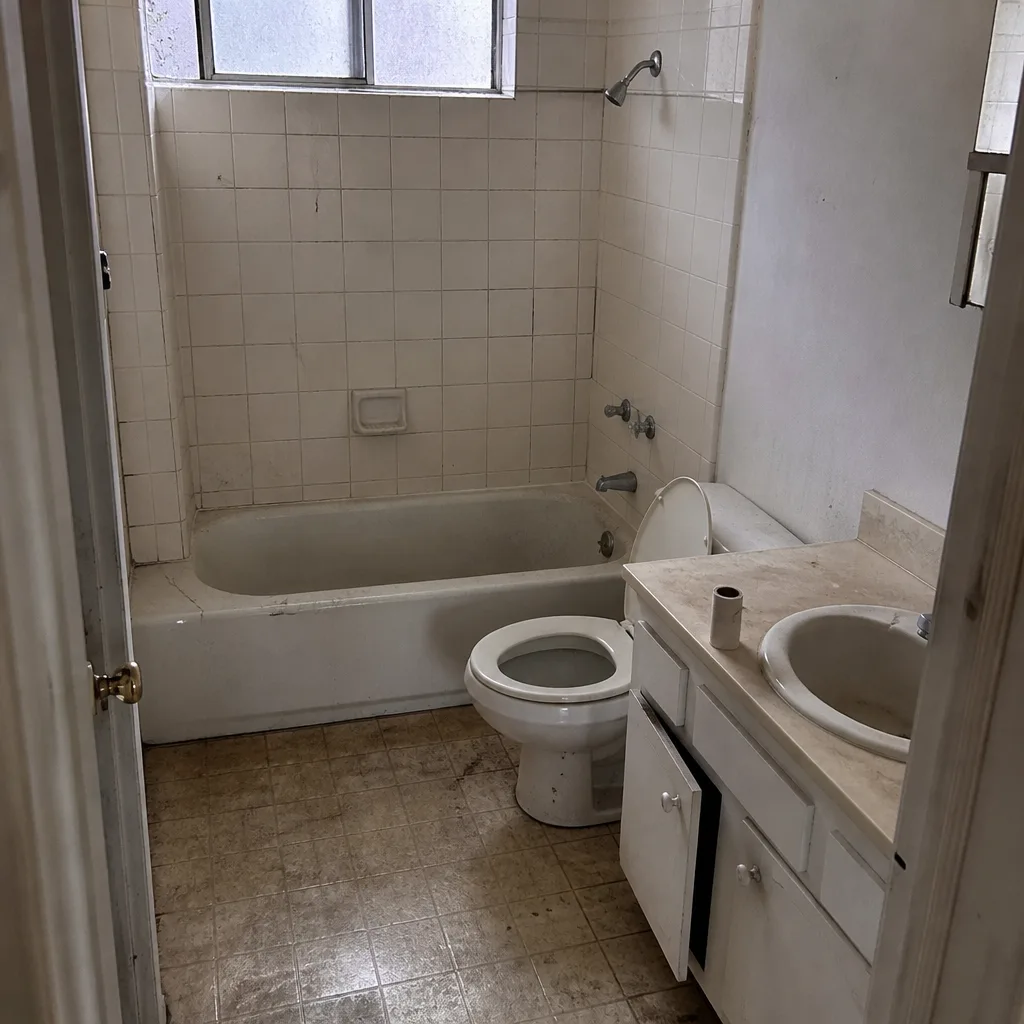 Before
 After