
Last updated November 18, 2026








Free written scope consultation - allowances, timeline, and change-order rules on paper before a single trade is scheduled
Bathroom Remodeling Maintenance Schedule: What to Do and When
Most bathroom water damage isn’t discovered until it’s behind the wall – and 80% of the time, it started at a grout line or caulk seam that failed within the first year of a remodel. That’s the uncomfortable truth about new bathrooms. The tile looks flawless, the fixtures shine, and underneath it all, a bead of caulk is quietly giving up while water finds its way into the framing. A remodel isn’t finished the day the crew loads out; the first 24 months are where most projects either hold up for decades or start costing real money. In this guide, we’ll give you a month-by-month maintenance calendar built around how bathrooms actually age – here in the dry Enterprise climate and everywhere else.
Quick Answer
A bathroom remodel needs monthly caulk and sealant checks, re-sealing of natural stone and grout every 6 to 12 months depending on material, and a spring inspection cleanup year-round for the first 24 months. The window that matters most: caulk joints around tubs and showers fail within 8 to 14 months, so inspect them at month 3, 6, and 12 to catch water before it reaches the substrate.
Styles & brands we work with
- Kitchen remodeling
- Bathroom remodeling
- Home additions & ADU
- Roofing
- Windows & doors
- Driveway & pavers
- Fence
Table of Contents
- The First 24 Hours After Your Remodel
- The 24-Month Maintenance Calendar
- Material-Specific Re-Sealing Windows
- How to Inspect for Early Moisture Intrusion
- What Your Warranty Requires You to Do
- DIY Tasks vs. Licensed Contractor Work
- Enterprise Climate: What Changes Your Schedule
The First 24 Hours After Your Remodel
What you do in the first day sets the tone for how the bathroom ages. The temptation is to hang the mirror, load the vanity drawers, and take a long shower. Hold off on that last one for 24 hours, especially if new silicone was applied around the shower pan or tub. Silicone needs a full cure cycle at room temperature – usually 24 to 48 hours – before it sees prolonged water exposure.
Here’s the sequence we walk every Enterprise homeowner through before we close out a project:
- Open windows and run ventilation for at least 4 hours to off-gas new sealants, adhesives, and paint. The desert air here in Enterprise dries surfaces faster than most markets, but it also accelerates shrinkage, so a solid cure matters.
- Test every fixture once – sinks, shower, tub, toilet – for 10 minutes and watch under the cabinet and around the base for drips. A slow leak in the first day is a five-minute fix; found three weeks later, it’s a subfloor problem.
- Photograph every joint and transition – caulk lines, grout edges at the wall, the gap under the toilet base. These photos become your baseline. When you check again in three months, you can compare directly.
- Confirm the fan exhausts outside, not into the attic. Turn it on and hold a tissue against the grille; it should pull firmly. If it doesn’t, call us before the final walkthrough.
- Note the water shutoff location for the bathroom and write it on tape inside the vanity cabinet door. This one small habit has saved more subfloors than any product on the market.
None of this is glamorous. It is, however, what separates a bathroom that holds up for 15 years from one that starts showing water stains at month nine.
The 24-Month Maintenance Calendar
Most maintenance guides point you to an annual checklist. That’s not how bathroom materials fail. The first 24 months are the highest-risk window because new construction materials are still settling, sealants are curing, and small shifts in framing and substrate are still working themselves out. Here’s the calendar we hand to every homeowner we finish a bathroom remodel for.
Months 1-3: The Settling Window
- Month 1: Check all caulk lines by pressing gently with a dry finger. Any soft spot or gap is a reseal candidate. Confirm the toilet has no rocking motion – a rock means the wax ring is compressing unevenly.
- Month 2: Run the shower at full heat and watch the ceiling below (if accessible). Any discoloration is moisture escaping the pan.
- Month 3: First full grout inspection. Hairline cracks at corners and the wall-floor transition are normal as the substrate expands; larger cracks are not. Re-seal stone tile if you used natural stone.
Months 4-9: The First Deep Check
- Month 6: Re-caulk any bathtub or shower joint that shows discoloration, peeling, or a gap. Silicone at the tub-to-tile transition is the number-one failure point in every bathroom we inspect.
- Month 9: Check the fan for buildup and pull the grille to vacuum dust. In Enterprise, dust accumulates fast; a clogged fan is a humidity trap.
Months 10-18: The Warranty-Weight Window
- Month 12: Full annual inspection. This is where you document everything. Grout condition, caulk condition, any sign of soft drywall, toilet stability. Keep the photos in a folder labeled “bathroom remodel.” Your 730-Day Done Right Promise coverage depends on you having this record.
- Month 15: Re-seal natural stone if you went that route, and re-grout any floor tiles that sound hollow when tapped.
- Month 18: Check the shower valve from underneath if there’s access. Slow drips here run behind the wall and rarely show up on the bathroom floor until the drywall is already soft.
Months 19-24: The Two-Year Benchmark
- Month 21: Second full re-caulk of the shower and tub perimeter if the first re-caulk is showing any wear. Silicone should also be around a 12-18 month lifespan, so plan on it.
- Month 24: Comprehensive property-level inspection, including the bathroom floor transition, the ceiling below if accessible, and the exterior wall on the other side of the shower if you can inspect it. This is your warranty checkpoint before the 730-day window closes.
A calendar isn’t a guarantee. It’s a discipline. Homeowners who do this work proactively spend, in our experience, roughly a third of what reactive homeowners spend on water damage repair over a 10-year period.
Material-Specific Re-Sealing Windows
The biggest source of confusion we hear from Enterprise homeowners is how often to re-seal. The answer depends entirely on the material, and most people apply a one-size-fits-all schedule that doesn’t fit anything.
- Ceramic and porcelain tile grout: Re-seal every 12-18 months. Grout is porous; even with a penetrating sealer, it needs refreshment. Any grout that darkens when wet is already overdue.
- Natural stone (marble, travertine, slate): Every 6-12 months. Stone is far more porous than ceramic, and desert humidity swings in Enterprise stress it faster. Impregnating sealer, not topcoat, is what holds up.
- Epoxy grout: Every 24-36 months, and sometimes longer. Epoxy resists water almost entirely; the maintenance is more about inspecting for cracking than sealing.
- Silicone caulk around tubs and showers: Every 12-18 months, full replacement. Silicone is not a lifetime product. It shrinks, it discolors, and it fails at the tub lip before the wall side. Expect to remove and re-apply entirely rather than touching it up.
- Waterproofing membranes (liquid or sheet): These don’t have a re-application window if installed correctly, but they do need inspection if the tile above them cracks. A membrane failure discovered at year 3 usually means a full tile replacement – which is why the first 24 months of grout care matter so much.
What’s the correct way to apply sealer? That’s a homeowner task. What’s the correct call to make when you’re not sure whether the substrate is already wet? That’s a contractor call. More on that below.
How to Inspect for Early Moisture Intrusion
Water damage in a new bathroom almost never starts as a visible puddle. It starts as a soft grout line, a subtle dark spot, or a musty smell you can’t quite place. Here’s the inspection ritual we recommend to every homeowner we finish a bathroom for in Enterprise.
- Do the “smell test” first. Stand in the bathroom with the door closed and the fan off for 30 seconds. Any musty, damp, or earthy smell is a moisture signal that predates visible damage by weeks.
- Press every grout and caulk joint firmly with a dry finger or plastic scraper. Grout should feel solid and cool. If it gives or feels spongy, water is behind it.
- Tap the floor tiles. A hollow, “clacky” sound means the tile is debonding, which lets water underneath the waterproofing. Not an emergency, but it’s a call to make.
- Check the base of the toilet for any dark staining on the floor or softness in the base. That’s the wax ring, and it’s a contractor task to replace.
- Look under the sink for moisture at the supply lines and P-trap. A dry paper towel pressed around each joint will show a drip you’d miss with the naked eye.
- Peek at the ceiling below the bathroom (from the room underneath or, if accessible, the crawlspace) at every full season change. Discoloration – even light yellowing – means the shower pan or drain has a leak path.
Doing this quarterly catches almost everything in the first 24 months. Comprehensive property inspections from a licensed contractor are worth doing at month 12 and month 24, especially in Enterprise where temperature swings stress the exterior wall assembly differently than a milder climate would.
What Your Warranty Requires You to Do
Here’s the part nobody tells you: a workmanship warranty – including the 730-Day Done Right Promise we back every project with – protects you against defects in the work, not against failure to maintain. Those are two different things, and confusing them is the most common reason homeowners get stuck holding the bill.
What a 730-Day Done Right Promise actually covers: any defect in the workmanship we performed – a shower pan that leaks due to improper installation, a tile that debonds because of a thin-set error, a fixture that fails within its own manufacturer’s warranty window. What it does not cover: caulk that failed because it wasn’t re-sealed in 12-18 months, or grout that cracked because it was never re-sealed at all.
So what do you, the homeowner, actually need to do to keep warranty coverage valid?
- Keep a maintenance record. A simple notes file or photo folder with dates of every inspection and re-caulk is sufficient. It doesn’t need to be elaborate; it needs to exist.
- Use the right products. Silicone, not latex caulk, in wet areas. Impregnating sealer, not topcoat, on stone. If in doubt, ask us before you buy.
- Report issues early. A soft grout line reported at month 8 is a quick fix under warranty. Reported at month 30 after the substrate has swollen, it’s a repair, not a warranty claim.
- Don’t do major repairs yourself. Removing tile, re-setting a shower pan, or re-doing waterproofing without the original materials undercuts the warranty and usually causes more damage.
- Document the environment. If your bathroom gets heavy steam from daily long showers or runs humid in monsoon season, note it. That context helps explain wear patterns and keeps the conversation honest.
Live person, 24/7 – that’s our promise on the warranty side too. Call us the moment something looks off, not after it spreads.
DIY Tasks vs. Licensed Contractor Work
Not every maintenance task needs a truck in the driveway. Plenty of what’s on this calendar is genuinely homeowner work, and doing it yourself saves real money. Here’s the honest line between what you can handle with a caulk gun and what calls for a professional.
Tasks you can handle yourself
- Re-caulking the tub and shower with 100% silicone
- Applying penetrating sealer to grout and stone tile
- Vacuuming the exhaust fan and cleaning the grille
- Replacing a toilet flapper or fill valve (with manufacturer parts)
- Checking under the sink and photographing joints
Tasks that call for a licensed contractor
- Replacing a wax ring or resetting a toilet
- Repairing or replacing a shower pan or drain
- Re-doing any waterproofing membrane
- Removing and re-setting tile
- Any work behind the wall, including valves, supply lines, and rough plumbing
- Any fixture swap that involves electrical or gas connections
There’s a reason we draw this line firmly. A wax ring job looks trivial and is, until it isn’t – the alignment has to be exact or the ring seals unevenly and starts leaking under the floor. Shower pan and waterproofing work carries the same risk every time. A small upfront repair from a licensed contractor is orders of magnitude cheaper than the subfloor replacement that follows an improper fix.
Enterprise Climate: What Changes Your Schedule
Enterprise sits in a desert climate with wide swings between day and night temperatures, some of the driest air in the country, and monsoon humidity arriving in late summer. Each of those factors has a specific effect on bathroom performance.
The dry air accelerates silicone shrinkage. We see caulk joints in Enterprise go hard and slightly shrink faster than they would in a coastal climate, so the 12-18 month re-caulk cycle is really the ceiling, not the floor. Seasonal monsoon humidity is the flip side – when the air is suddenly saturated for six to ten weeks, any tight, non-breathing bathroom interior experiences a meaningful vapor load. That’s when a hairline grout crack turns into a moisture intrusion issue.
Temperature swings at elevation stress the exterior wall assembly, especially where the bathroom sits on an exterior wall facing afternoon sun. That expansion and contraction cycle, day in and day out, is why we recommend an exterior wall check at month 12 and month 24.
Ventilation is critical here too. A properly exhausting fan pulls 20 to 40 minutes after the shower ends, not 5. In an Enterprise bathroom with a fan that exhausts to the attic instead of outside, condensation forms on the roof deck and works its way down. If you’re not sure where your fan vents, that’s a legitimate call.
Common Mistakes to Avoid
- Using latex caulk around tubs and showers. It’s cheap and available, and it fails within months in a wet environment. Silicone or a hybrid specifically rated for wet use is the only correct choice.
- Skipping the first re-caulk. Homeowners in Enterprise often assume a new remodel means caulk is “good for years.” It isn’t – 12-18 months is the expected lifespan in a tub or shower, even in a high-quality installation.
- Sealing grout too soon after install. Fresh grout needs 48-72 hours to cure before penetrating sealer is applied. Sealing over wet grout traps moisture and undermines the whole process.
- Not documenting anything. Without a simple record of inspections and re-caulks, a warranty claim becomes a conversation about what “should have” been done. Photo folders are free; that argument is not.
- Ignoring hollow-sounding floor tiles. A debonded tile is not a cosmetic issue in a wet room – it’s a pathway for water under the waterproofing. Catch it at the first tap, not after the floor has swelled.
- Doing the fan replacement yourself. Fan replacement involves working in the attic, often at height, and is a licensed electrician’s job – not a Saturday project.
- Waiting for visible damage. By the time you see a stain, the moisture has already been working behind the wall for weeks. Inspection beats detection every time.
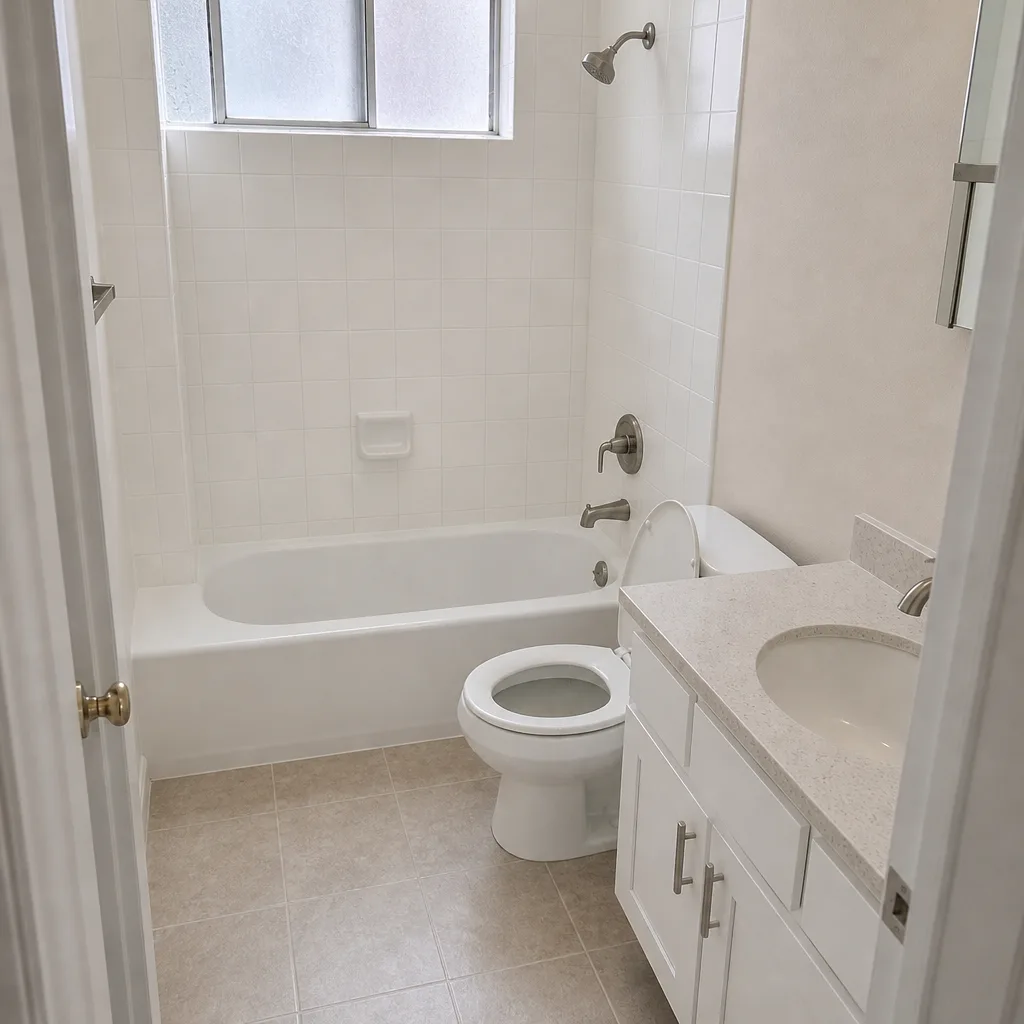
See the difference
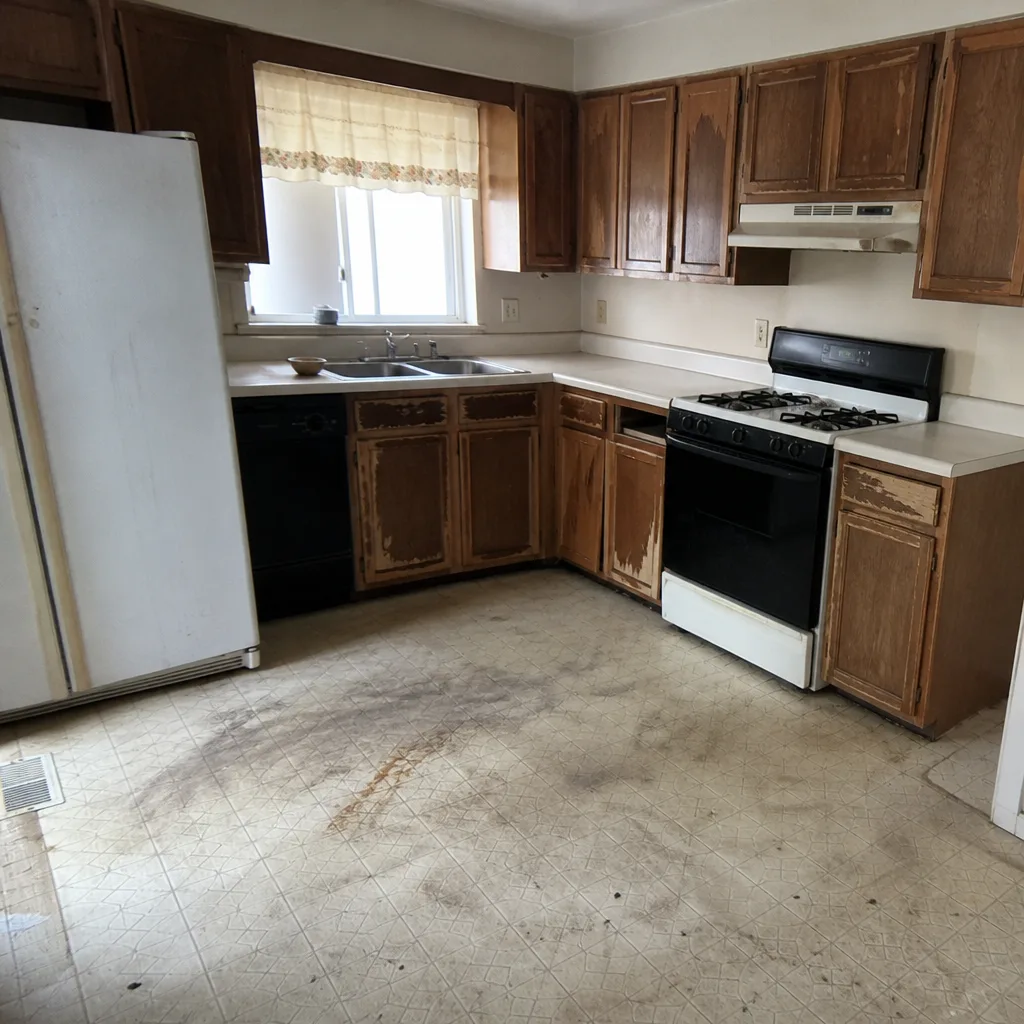 Before
 After
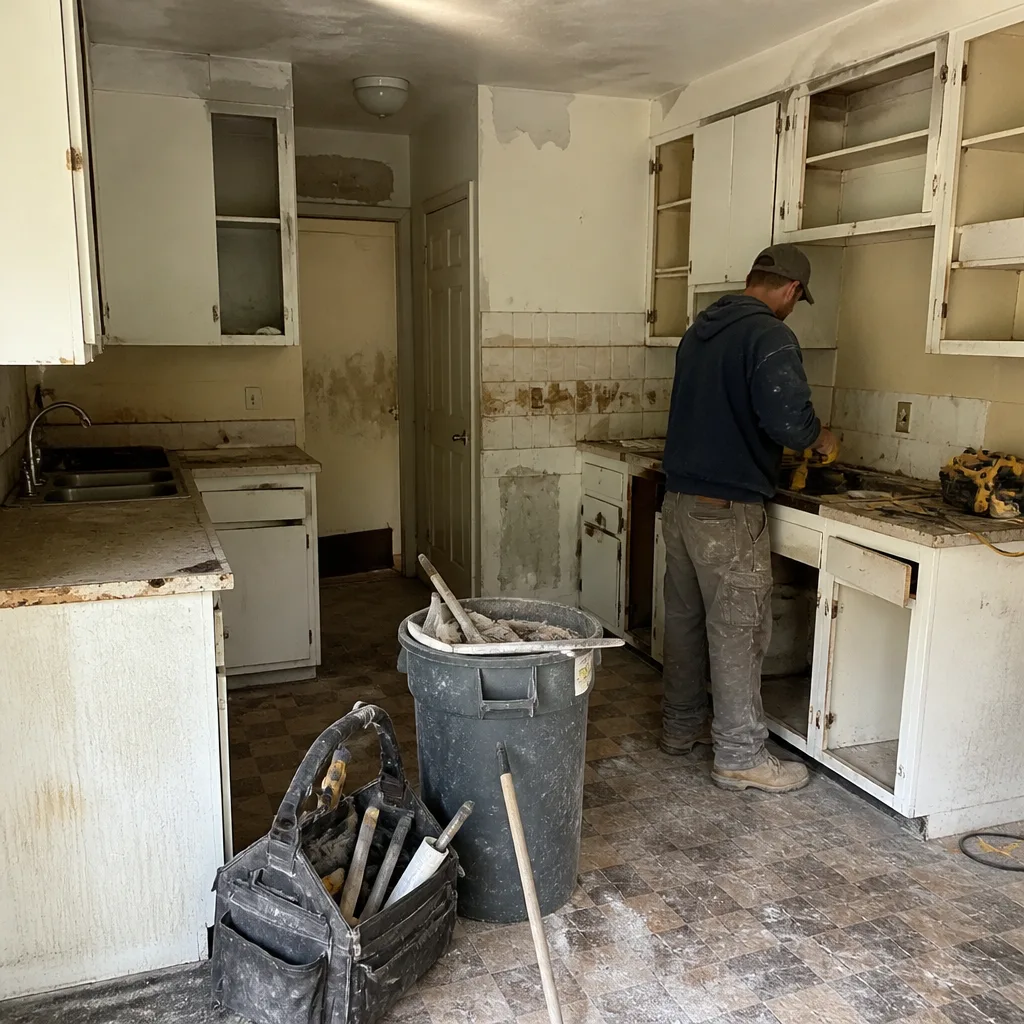 Before
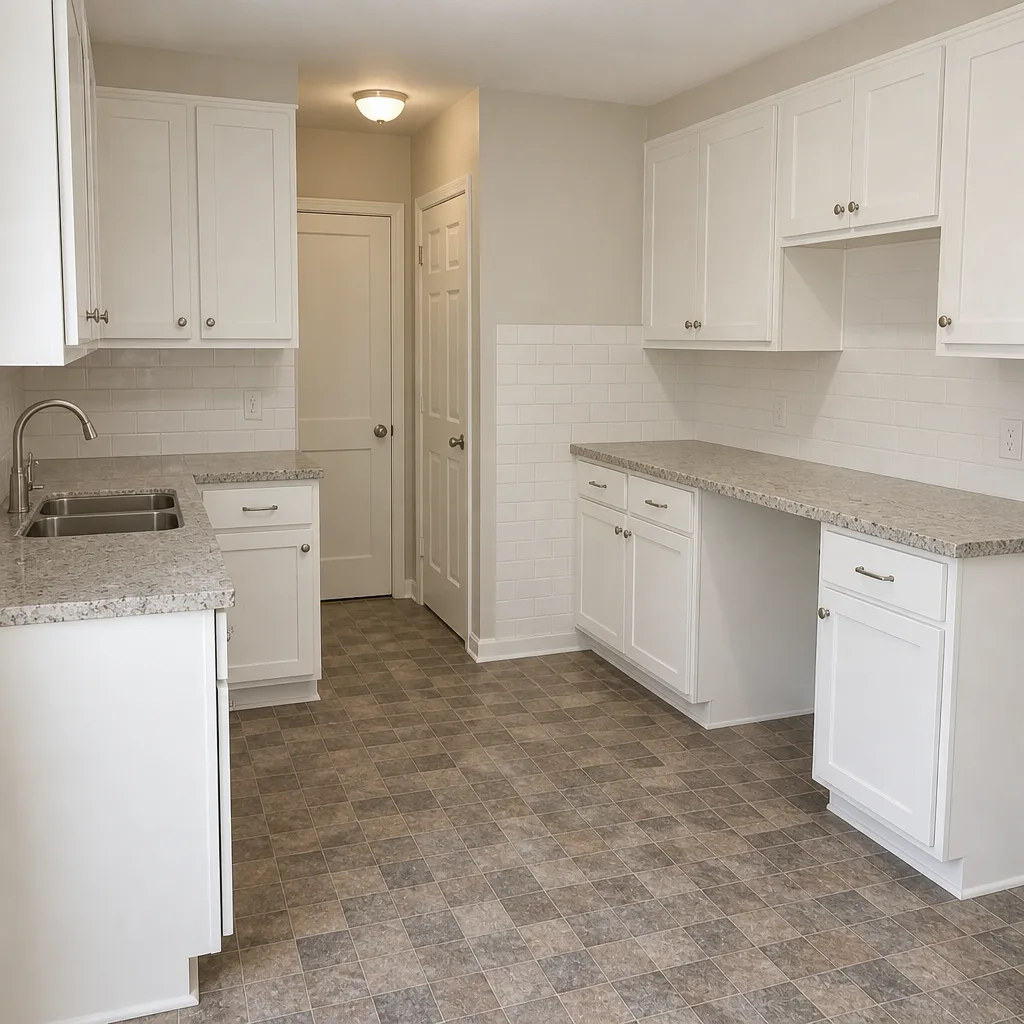 After
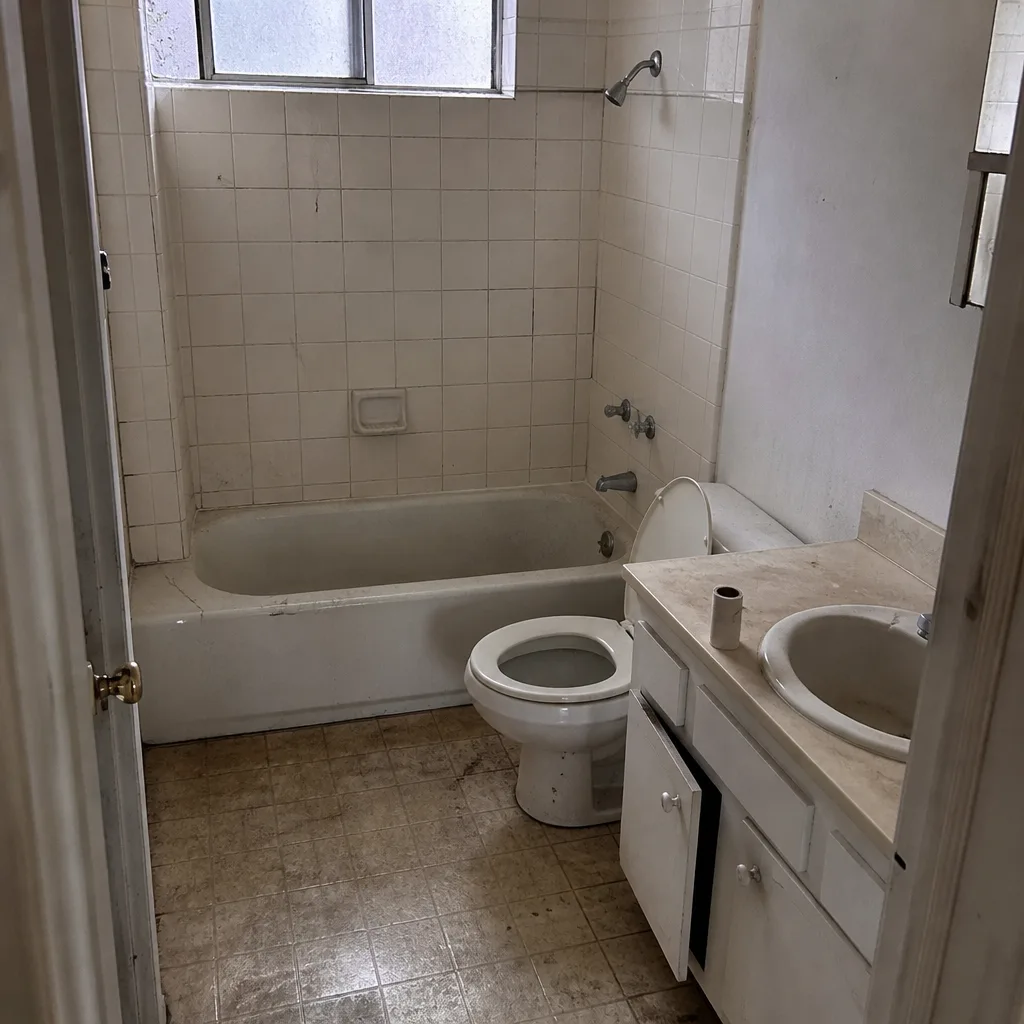 Before
 After
When to Call a Professional
Call a licensed contractor the moment any of the following happens: you smell mustiness in a closed bathroom, you find a soft spot in grout or caulk, the toilet rocks or shows staining at the base, a floor tile sounds hollow, you see discoloration on the ceiling below, a fixture drips from the wall rather than the spout, or you’re approaching month 24 and haven’t had a professional moisture inspection. Groundwork Construction Co. of Enterprise offers free estimates in Enterprise – call (844) 797-4406. Our technicians have up to 12 years of experience with the kind of moisture problems that hide behind new installs, and we’ll tell you straightforwardly whether it’s a maintenance task or a repair.
Frequently Asked Questions
Re-caulk a new shower every 12 to 18 months. Silicone shrinks and discolors faster in Enterprise’s dry air, so check the joints at months 3, 6, and 12 and plan on a full re-caulk at the first sign of peeling or a gap. If you’re not sure whether it’s time, call (844) 797-4406 for a free estimate on inspection – estimates are free.
The 730-Day Done Right Promise covers any defect in the workmanship we performed – meaning anything installed incorrectly, from shower pan leaks to tile debonding to fixture failures within the manufacturer’s own warranty. It doesn’t cover failures that come from skipped maintenance like caulk or grout that wasn’t re-sealed. If something looks wrong, call (844) 797-4406 and we’ll walk through whether it’s a warranty item.
Three reliable signals: a musty smell in a closed bathroom, grout that feels soft when pressed, and any dark staining at the toilet base or under-sink joints. A dry paper towel pressed against each joint is the fastest check. If two or more signals appear together, that’s a call for a professional moisture inspection – call (844) 797-4406.
Yes for most of it. Caulking around tubs and showers, applying penetrating sealer to grout and stone, vacuuming the exhaust fan, and checking under the sink are all homeowner tasks. Anything behind the wall, including wax ring replacement, waterproofing repair, and tile removal, calls for a licensed contractor. When in doubt, call (844) 797-4406 – we’d rather answer a question than fix a mistake.
Roughly $50 to $150 per year for DIY materials (silicone, sealer, small parts), plus $300 to $600 if you have a professional moisture inspection done at months 12 and 24. Compare that to a water damage repair, which commonly runs into the thousands. A free estimate from us is the cheapest possible step – call (844) 797-4406.
No. You can use any licensed contractor for maintenance. What matters is that you keep documentation. If you ever need to make a warranty claim with us, the record of inspections and re-caulks is what lets us honor the 730-Day Done Right Promise cleanly. Call (844) 797-4406 if you want us to do the month-12 or month-24 inspection.
The Bottom Line
A remodeled bathroom isn’t a finished product – it’s a living system that needs two years of close attention before it stabilizes. The calendar in this guide matters: check caulk at month 3, re-caulk at month 12, inspect for moisture quarterly, and document everything. The 730-Day Done Right Promise from Groundwork Construction Co. of Enterprise backs the work itself; your maintenance routine protects it. From foundation to finish line, we build bathrooms that last – and we’ll help you keep them that way. Call (844) 797-4406 to schedule a free estimate and a walkthrough of your maintenance plan.
Written by the team at Groundwork Construction Co. of Enterprise.