Last updated November 18, 2026

Free written scope consultation - allowances, timeline, and change-order rules on paper before a single trade is scheduled
DIY vs Professional Fence Installation: What’s Safe to Do Yourself
Setting the posts accounts for roughly 20% of a fence installation job in time and cost. It accounts for 100% of whether that fence is still standing straight in five years. That’s the part most do-it-yourselfers underestimate going in, and it’s the reason we get called back to tear out fences that looked perfectly fine on the day they went up. In this guide, we’ll break down exactly what’s safe to handle yourself, what genuinely requires a professional crew and equipment, and how the math works out for the three realistic paths: full DIY, partial DIY, and a full professional install. You’ll get the honest task split we’d give a neighbor in Enterprise over the fence line, not a sales pitch.
Quick Answer
Painting panels, replacing a broken board, tightening a sagging gate, and staining are safe for most homeowners to do themselves. Setting posts, drilling footings through Enterprise’s caliche layer, and pulling the permits are not – those require specialized auger equipment, the correct concrete mix calculation, and liability coverage that a homeowner doing unpermitted work does not have. Hire out the post-setting and permitting, and you can keep the rest of the job without risking a fence that leans after the first monsoon.
Styles & brands we work with
- Kitchen remodeling
- Bathroom remodeling
- Home additions & ADU
- Roofing
- Windows & doors
- Driveway & pavers
- Fence
Table of Contents
- The Real Task Split: What’s Safe and What Isn’t
- Why Enterprise’s Caliche Ground Changes Everything
- The Concrete Footing Calculation Most DIYers Get Wrong
- Permits, HOA Rules, and Resale Liability
- Full DIY vs Partial DIY vs Professional: The Real Cost Comparison
- Materials, Wind Ratings, and Desert-Specific Choices
- How Long Each Approach Actually Takes
- Common Mistakes to Avoid
- When to Call a Professional
The Real Task Split: What’s Safe and What Isn’t
Most fence advice online treats the whole job as one unit. That’s the first mistake. A fence install is really two different projects stacked on top of each other, and they carry very different risk profiles. Split them correctly and you can save real money without gambling on the outcome.
Here’s the task list most homeowners can safely take on themselves:
- Painting or staining panels after installation
- Replacing a single damaged board or picket
- Tightening gate hinges, latches, and swing adjustments
- Sealing wood or cleaning vinyl after the fence is up
- Trimming vegetation along the fence line on a regular schedule
- Touch-up paint and hardware replacement
And here’s what genuinely requires professional equipment, training, or coverage:
- Post hole drilling through caliche or compacted desert soil
- Post setting, plumbing, and concrete footing work
- String-line layout and property boundary verification
- Permit pulling and inspection coordination
- Gate framing and hardware installation for anything wider than about 4 feet
- Removal and disposal of an existing fence
If you strip the fence down to just panel work, you’re looking at maybe a third of the labor cost and almost none of the risk. That’s the honest sweet spot for a homeowner who wants to save money – not the whole job, but the low-stakes half. Our team at Fence Installation in Enterprise gets asked frequently whether we mind owners doing the finish work themselves. We don’t. Post-setting is the part that has to be right, and we’d rather do that part properly than pretend the panel painting requires our help.
Why Enterprise’s Caliche Ground Changes Everything
Enterprise sits on a layer of caliche that runs through a lot of the Anthem and Centennial Hills area. Caliche is a calcium-carbonate cemented soil layer – think of it as naturally occurring low-grade concrete sitting a foot or two under your lawn. A standard manual post-hole digger that works fine in loam or sandy soil will bounce off it. An auger rented from a box-store rental counter usually doesn’t have the torque or the correct bit size for this ground, and that’s the specific reason DIY fence jobs stall out in Enterprise.
What it takes to get through caliche cleanly:
- A gas-powered or hydraulic auger rated for rocky soil, not a handheld.
- A carbide-tipped bit in the correct diameter for the post and footing plan (typically 9 to 12 inches for a 4×4 post).
- A digging bar or breaker bar to work through stony layers the auger can’t cut.
- Patience – and a plan B for the rare spots where you hit a caliche pan that needs soaking or a small jackhammer.
Most rental outlets in Enterprise carry a one-man auger, but they don’t stock the carbide bit you’ll actually need for caliche. That means homeowners who rent the machine still end up stuck on day one and either rent a second time and pay double, or give up and call us anyway – usually with a half-drilled hole and a rented auger still on the clock. A pro crew shows up with the right rig and a bit that cuts. That’s the whole difference.
Worth saying directly: digging through caliche with a heavy auger is a physical safety issue. Kickback, spinning handles, and hand injuries are real. If you’re not used to heavy power equipment, don’t start on this soil.
The Concrete Footing Calculation Most DIYers Get Wrong
Eyeballing the footing is how a fence leans. The correct footing depth isn’t a rule of thumb you can guess at – it’s a function of post height, soil type, and wind load. Here’s the calculation we run on every job in Enterprise:
- Measure post height above grade. For a 6-foot fence, the post is typically 8 feet total, with 2 feet buried.
- Burial depth rule. A safe minimum in our soil is one-third of the above-grade post height, so a 6-foot fence needs at least 2 feet of buried post. Many installs run 30 inches for wind resistance.
- Hole diameter. The hole should be three times the post width – usually 10 to 12 inches around a 4×4 post.
- Concrete volume. Use a bag calculator or the Quikrete or Sakrete bag chart. A 10-inch hole 24 inches deep takes roughly 1.5 bags of 50 lb fast-set mix. Round up; you’ll need extra around rocky edges.
- Crown the concrete. Slope the top of the footing away from the post so water doesn’t pool at the base. In Enterprise’s summer thunderstorms, that’s the difference between a dry post and a rotting one.
What gets eyeballed wrong most often: too shallow, too narrow, and not crowned. Each one is only a fraction of an inch off on install day, and each one compounds with every windstorm. Over five years, an eyeballed footing that started out plumb will typically be leaning 3 to 6 inches off-square. That’s a whole-fence rebuild, not a repair. Cheaper to get it right the first time.
If you’re going to do the post-setting yourself anyway, at least use a proper concrete calculator and rent a post level. Five dollars of meter-level hardware beats five hundred dollars of tearing out a leaning fence in two years. Better yet, leave the setting to pros and spend your time on the panels – that’s the split our team recommends to every Enterprise homeowner considering partial DIY.
Permits, HOA Rules, and Resale Liability
Clark County requires a building permit for most fence installations over 6 feet tall, and many HOA communities in Enterprise have their own submittal and approval process regardless of county rules. This is where DIY fence jobs create the longest-lived headache: unpermitted work doesn’t typically surface until closing.
What we see on resale:
- A title company or buyer’s inspector flags the fence on the seller’s disclosure.
- The county asks for as-built drawings and a permit application that should have happened 4 years earlier.
- The buyer’s lender requires either retroactive permitting or a credit on the sale price.
- If the fence crosses a setback or neighbor’s property line, the negotiation gets messy before it gets better.
Enterprise HOA rules vary widely – some communities regulate fence height, material, color, and side-of-property visibility down to the exact paint shade. Getting that wrong means repainting or rebuilding at your own cost. Our team pulls permits and coordinates HOA submissions as part of the scope when we install fencing, so the homeowner never has to learn a community’s submittal process the hard way. That’s the whole point of hiring a contractor for the parts that carry liability.
If you’re interested in what a fully permitted, HOA-ready install looks like, take a look at how we approach Driveway & Pavers in Enterprise – those jobs run through the same permitting and site-check pipeline as fence work. It’s the same discipline applied to the front of the house.
Full DIY vs Partial DIY vs Professional: The Real Cost Comparison
The comparison most homeowners see online uses list prices with no footing math, no permit cost, no rental cost, and no time value. We’ll give the honest version. Ranges below are typical for a 100-linear-foot, 6-foot privacy fence in Enterprise with standard materials.
| Line item | Full DIY | Partial DIY (owner supplies materials, contractor sets posts & frames) | Full professional install |
|---|---|---|---|
| Materials (posts, panels, concrete, hardware) | $2,100 – $3,200 | $2,100 – $3,200 | Included in labor+materials quote |
| Tool rental (auger, mixers, levels, saws) | $200 – $450 (may need 2 rentals) | $0 | $0 |
| Permit fees (Clark County, varies by height) | $90 – $220 (owner pulls) | $90 – $220 (owner pulls) | Pulled by contractor, included |
| Labor | 2 weekends of your time | Contractor portion typically $900 – $1,600 | $2,200 – $3,600 |
| Waste and dump fees | $40 – $120 | $40 – $120 | Included |
| Warranty on workmanship | None | Contractor warranty on set work | Covered under 730-Day Done Right Promise |
| Typical all-in total | $2,400 – $3,990 | $3,130 – $5,140 | $3,500 – $5,800+ |
Read that table honestly and the gap between DIY and professional isn’t as wide as it looks on paper – and the difference in a fence that’s still standing straight in five years is significant. The partial DIY path saves between 15% and 25% vs. full install while keeping the post-setting and permitting under professional warranty. For a homeowner willing to spend a couple of weekends painting and finishing, it’s a real discount on a real install.
One more cost comparison most people forget to run: the leaning-fence rebuild. An eyeballed DIY job that fails at year three typically costs $1,400 to $2,800 to tear out and redo. Suddenly the “savings” from full DIY are a $1,000 to $2,500 net loss. The math only works if the posts are done right.
Materials, Wind Ratings, and Desert-Specific Choices
Enterprise wind is not subtle. Spring gusts regularly hit 30 mph and higher, and monsoon season brings gust events that flatten lightweight fencing. Material and post spacing affect wind survival as much as footing depth, and this is where material choices genuinely matter.
What holds up in Enterprise:
- Vinyl privacy fencing with aluminum or steel reinforcement posts – the panels themselves are light, but the post and rail system has to be rated for wind. Cheap hollow panels without reinforcement rattle, crack, and eventually blow out.
- Wood fencing at 6 feet with 8-foot post spacing and 2×4 rails – good density, good price point, and repairs are easy. Staining every 2 to 3 years (rather than every 5) dramatically extends life in the desert sun.
- Masonry or concrete block for front-yard street-facing runs – highest durability and wind resistance, but you’re hiring out the pour regardless of whether it’s a DIY job or not.
What we’d steer you away from in Enterprise specifically: thin-gauge chain-link with standard tension wire blow-out during monsoon, and any vinyl panel that isn’t rated for sustained wind. We work with brand partners across our fencing material list including Oldcastle for block and Quikrete or Sakrete for footing mix – all materials that hold up to the climate. Spend the extra 10% on wind-rated hardware and you’ll replace fewer panels across 20 years of Enterpriprise weather.
We’re also not going to tell you that materials alone decide longevity. In our experience, freight-grade panels on a perfectly set footing outlast premium panels on a sloppy one every time. Materials are the second variable. The footing is the first.
How Long Each Approach Actually Takes
Timeline expectations are the other place homeowners get talked into the wrong plan. Here’s what each path looks like in real hours, not optimistic weekend math.
Full DIY timeline for 100 linear feet in Enterprise:
- Pre-project: permit application, HOA submittal, material delivery – 2 to 4 weeks calendar time.
- Layout and post-hole drilling – 1 full day, longer if you hit caliche in unexpected spots.
- Concrete work – 4 to 6 hours with a rented mixer.
- Cure time before panel work – 24 to 48 hours minimum.
- Panel hang, gate framing, cleanup – 1 full weekend day.
- Staining or finish work – 1 additional weekend day.
Total: two full weekends of active work, plus 2 to 4 weeks of permitting and material procurement. And a meaningful chance of an extra weekend if a rented auger breaks down or an inspection requires changes.
Professional install timeline: most residential fence projects, from materials on-site to final walkthrough, run 2 to 4 days of active work. Permit and HOA prep happens before the crew arrives. You’ll see the crew on site for a few days and get a fence at the end. That’s the trade – you pay for the scheduling.
Partial DIY timeline: contractor sets posts and frames in 1 to 2 days, you come in with panels and finish work across 1 to 2 additional weekends. Most of the schedule compression of a pro install, most of the material and finish-work savings of DIY.
If you’ve got flexibility in scheduling but not much in the budget, partial DIY is the sweet spot. If you’ve got the budget and want a completed, permitted fence on a calendar date you can plan around, a full professional install wins on time and risk.
See the difference
 Before
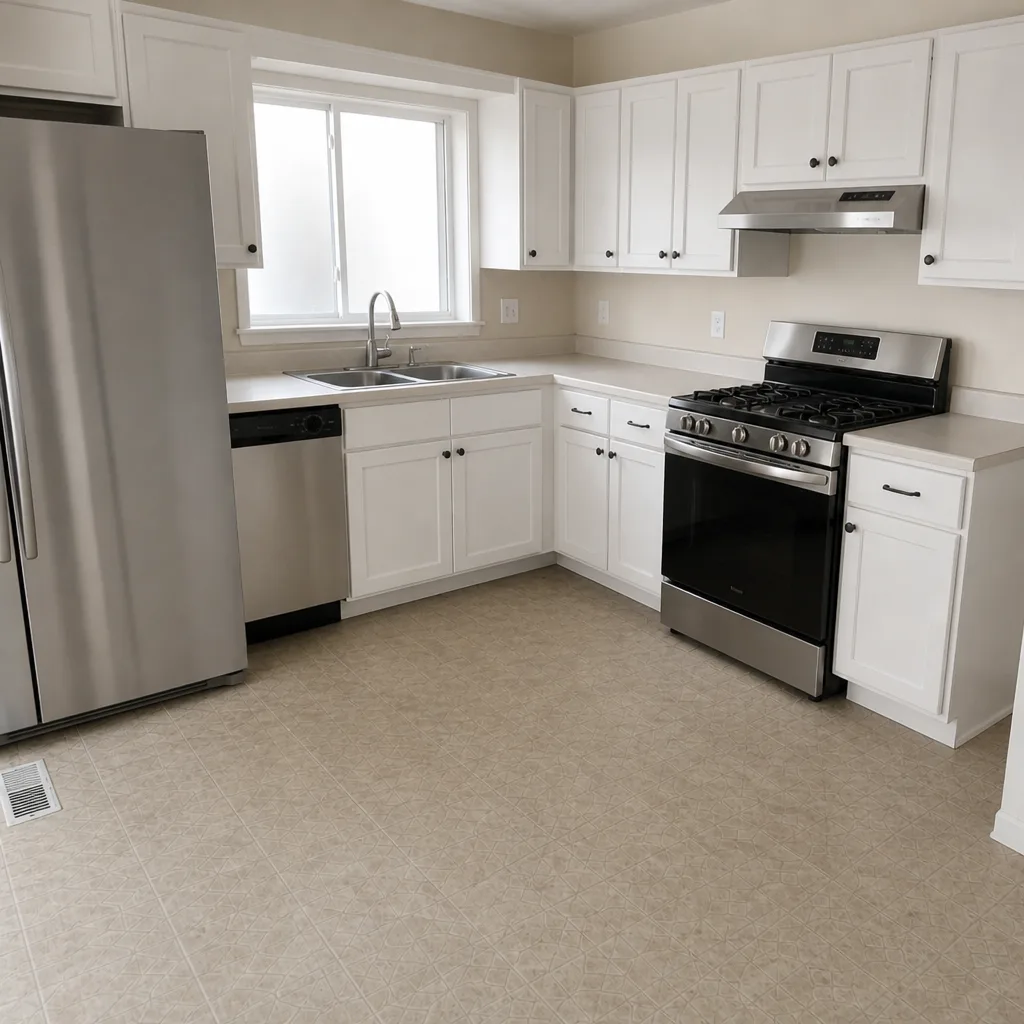 After
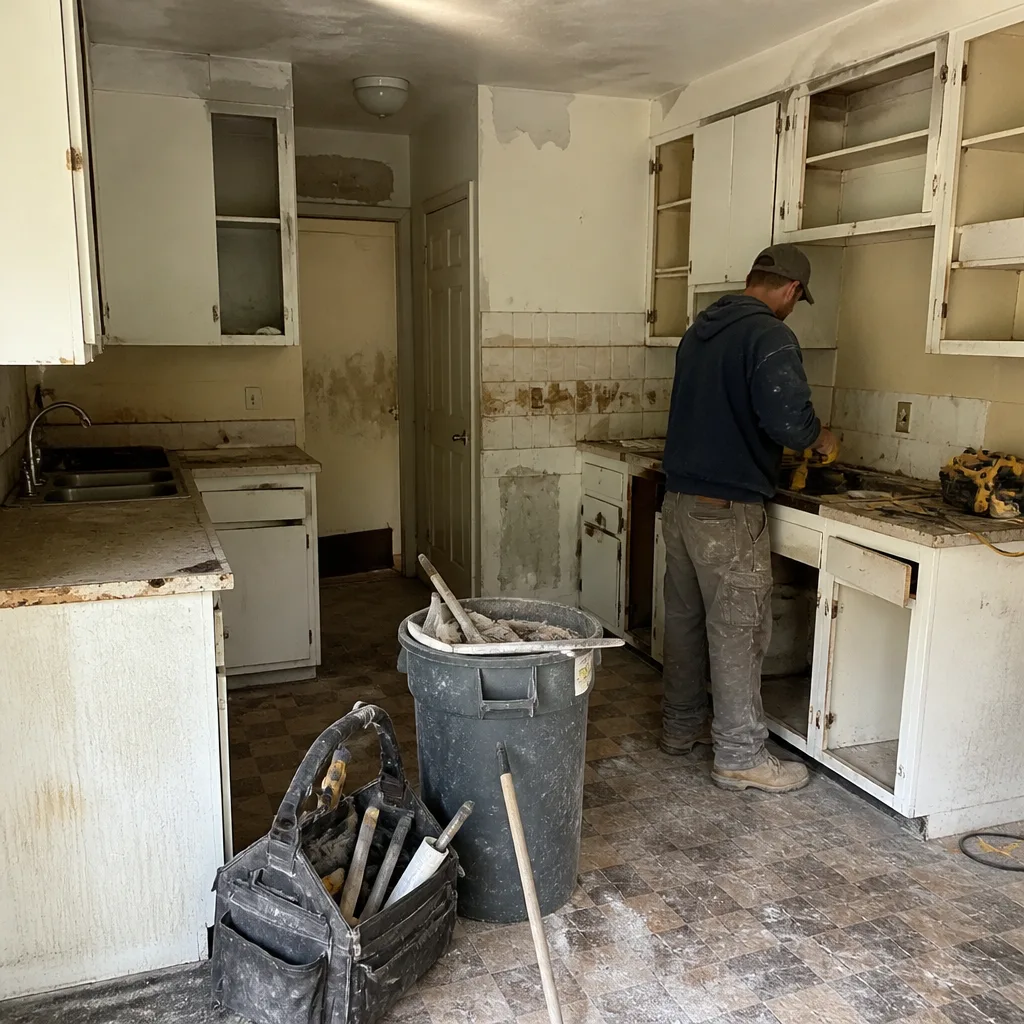 Before
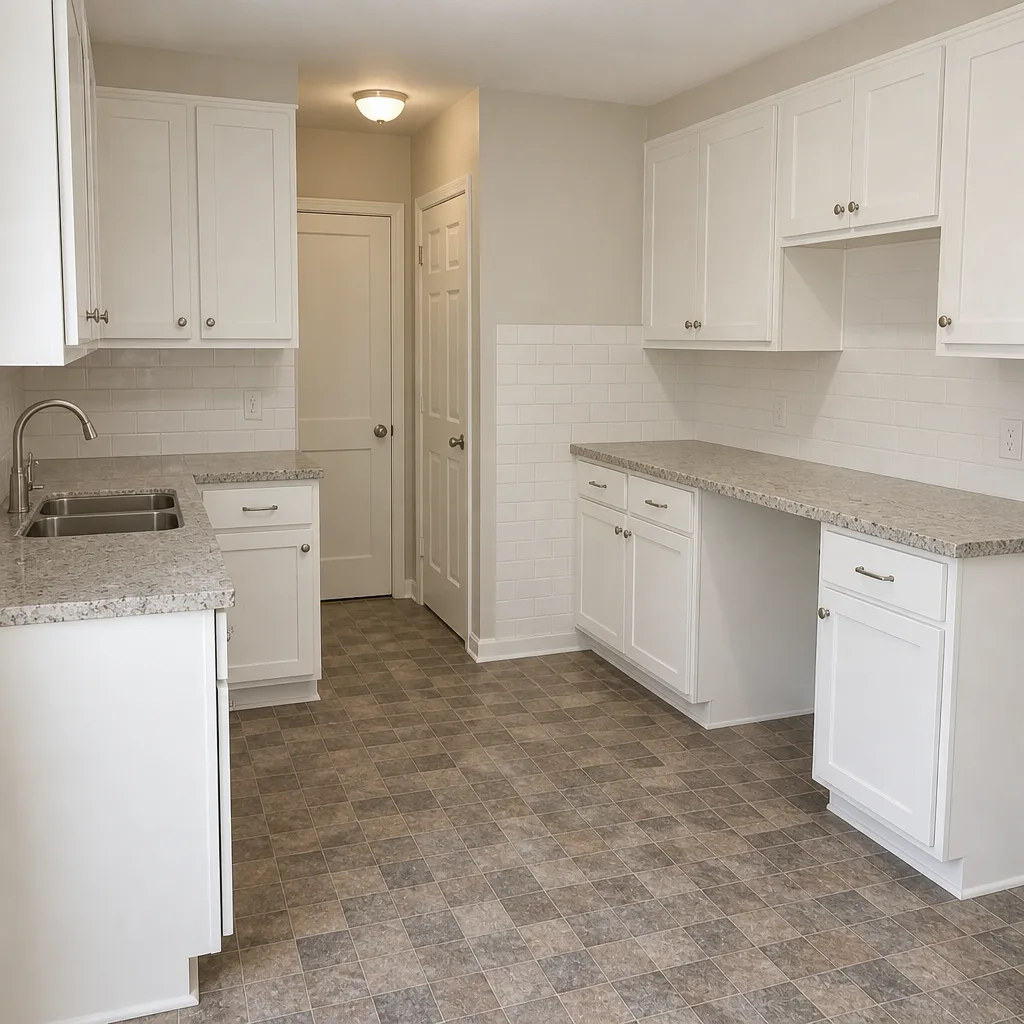 After
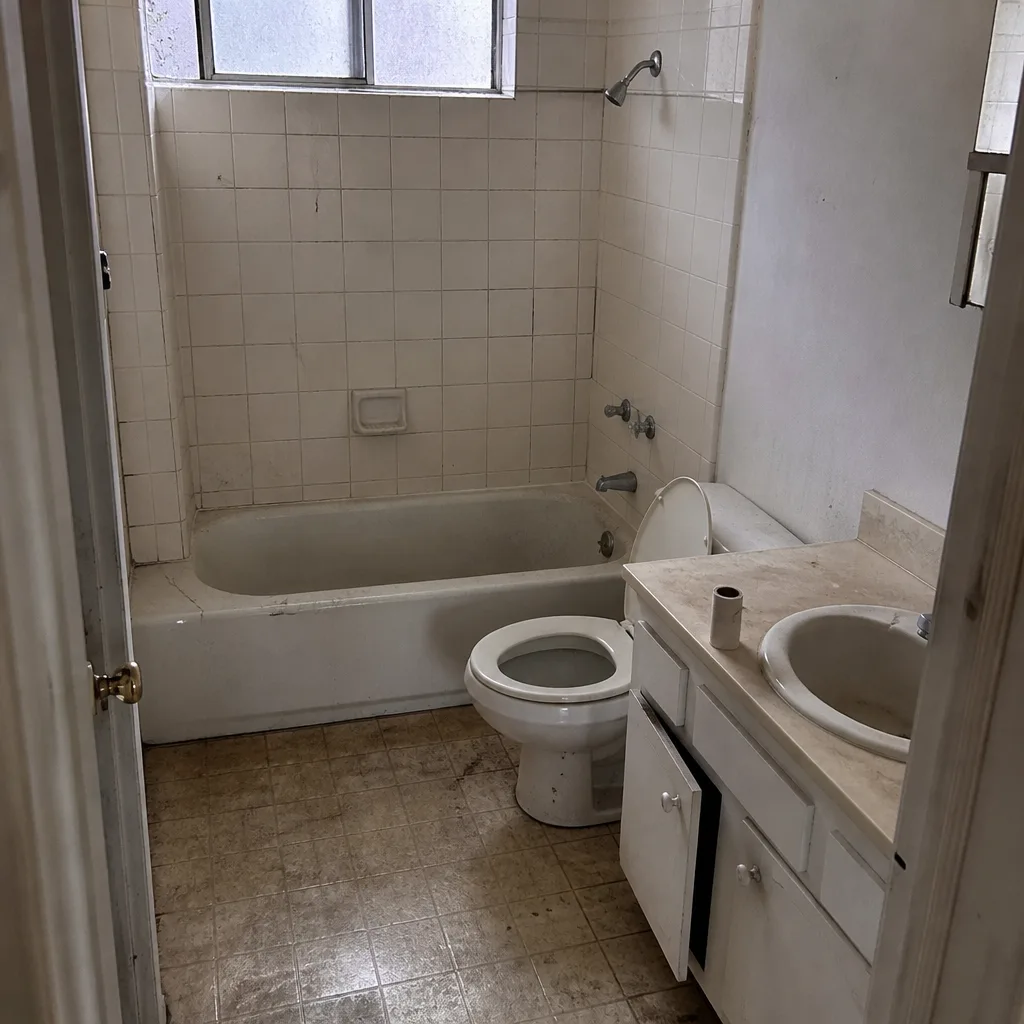 Before
 After
Common Mistakes to Avoid
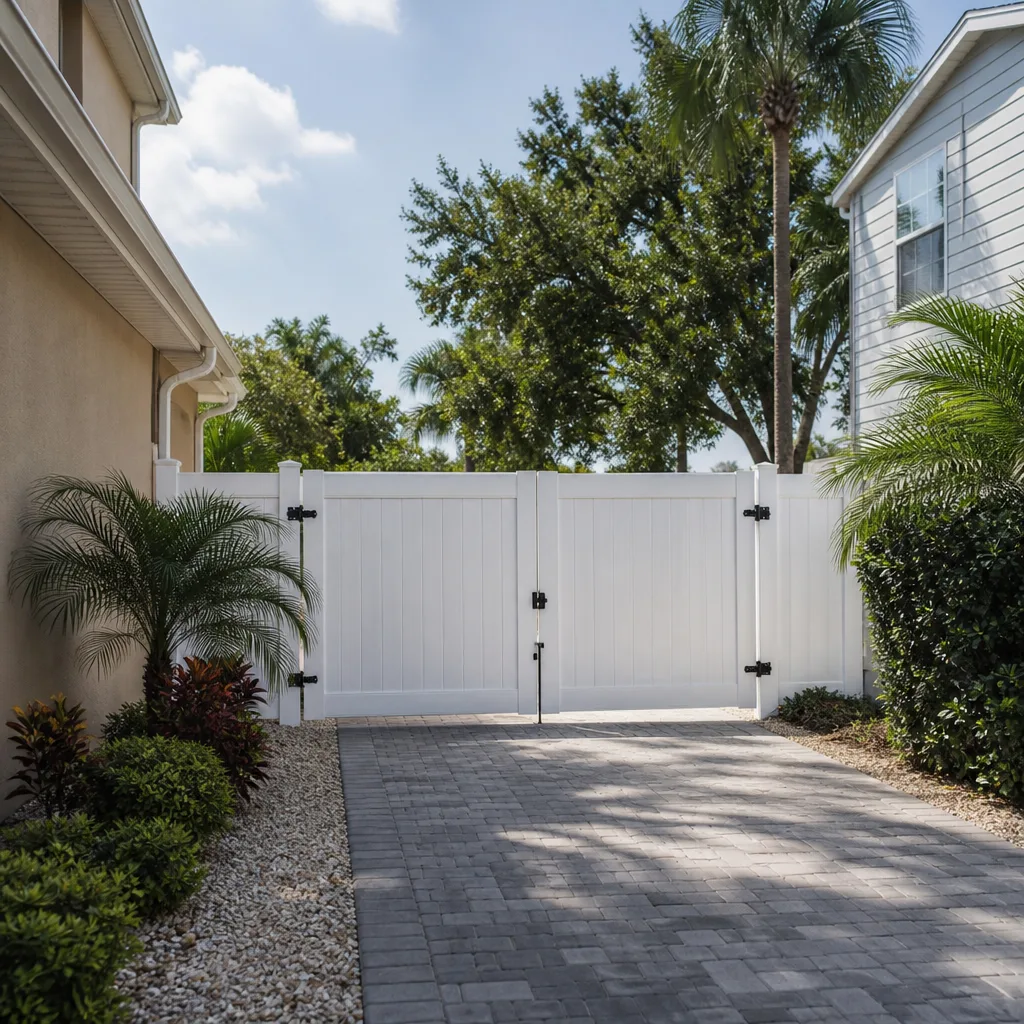
- Eyeballing the footing depth. A “one foot looks about right” post hole is why we see leaning fences in Enterprise after 3 seasons. Use a calculator and a post hole gauge, not your hand.
- Renting the wrong auger. A standard one-man auger rented from a box store doesn’t cut caliche. Confirm the bit type before you pay for the rental, or you’ll pay twice.
- Not calling 811 before you dig. Utility lines run shallow in some Enterprise neighborhoods. Free marking takes a few days and saves more than a fence budget if you hit something.
- Skipping permits because “it’s just a fence.” Unpermitted work surfaces at resale or refinance. It’s the most common way DIY fence jobs silently cost more than professional installs.
- Assuming 8-foot post spacing without checking wind load. In exposed Enterprise neighborhoods, 6-foot spacing with extra rails is often the right call. The spacing depends on the material and the wind zone, not on what looks standard.
- Buying materials before confirming the post plan. Panels and rails are easy to size. Post diameter, footing diameter, and concrete volume need to be settled first, or you’ll be making a second trip.
- Painting or staining too soon. Wood needs weeks of drying before finish coat. Panels painted the same weekend they’re installed often fail within a year in the desert sun.
When to Call a Professional
Call a professional any time the job involves caliche drilling, footing work, gates wider than about 4 feet, permits, HOA submittal, or an existing fence that has to come out first. Also call if the fence line crosses a property boundary – that’s a survey question with legal implications a homeowner shouldn’t navigate alone. And call if your timeline matters – if the fence needs to be done before a family event, a rental turnover, or a home sale, DIY timelines rarely survive first contact with caliche.
Our team at Groundwork Construction Co. of Enterprise offers free estimates in Enterprise. Call (844) 797-4406 to schedule a walkthrough, or start with the broader picture of what we do at Groundwork Construction Co. of Enterprise home. We quote the post-setting and permitting on their own if owners want to take the rest of the job, and we’re direct about which parts we recommend you keep and which parts you hand off. That’s the split, not the sale.
Frequently Asked Questions
Yes, technically – a homeowner can pull the permit themselves, drill the footings, and pass inspection if the work meets Clark County code. The realistic obstacles are the caliche drilling, footing depth requirements, and the time commitment across permitting and inspection cycles. If you’re confident on all three, DIY is genuinely possible. If you’re not, hire out the post-setting and permitting and keep the panel work. Call (844) 797-4406 for a free estimate on the professional portion.
Setting posts in caliche soil is the hardest part, followed by getting footing depth right. The equipment challenge comes first – most rental outlets in Enterprise don’t stock the right carbide bit for caliche, so homeowners end up stuck on day one. Footing depth is the second trap; eyeballing it is the top cause of fence failure in desert soil. Post work is where we most often see DIY jobs abandoned mid-project.
Clark County requires a building permit for most fence installations above 6 feet tall, and many Enterprise HOAs require their own submittal regardless of height. Check both before buying materials. Unpermitted work typically surfaces at resale or refinance and can cost more to resolve than the original permit application would have. Call (844) 797-4406 if you want the permit pulled and handled end-to-end.
A typical 100-linear-foot, 6-foot privacy fence in Enterprise installed professionally runs roughly $3,500 to $5,800 depending on material, gate count, and site conditions. Full DIY comes in around $2,400 to $3,990 when you count tool rental, permits, and waste removal. Partial DIY lands between the two, usually 15% to 25% below full professional install. Call (844) 797-4406 for an exact quote – estimates are free and itemized.
Not on a properly scoped job. Our written quotes are fixed pricing with no change orders for the work as scoped. If you change the design or add a gate after signing, that’s a new line item, not a surprise on the invoice. Upfront pricing is the standard we hold ourselves to. Call (844) 797-4406 to schedule a free estimate.
Wind-rated vinyl with reinforced posts, dense wood fencing stained every 2 to 3 years, and concrete block for street-facing runs hold up best in Enterprise. Cheap hollow vinyl panels and thin-gauge chain-link fail first during monsoon season. The first variable is footing, the second is material. Call (844) 797-4406 and we’ll walk you through which combination makes sense for your lot.
The Bottom Line
DIY fence installation isn’t one job – it’s two. Panel work is safe for most homeowners and saves real money. Post-setting through caliche, footing depth, permits, and HOA submittal are the parts that carry liability and the parts most DIY attempts get wrong. The realistic hierarchy for Enterprise: full DIY saves the most on paper and risks the most in practice; partial DIY (contractor sets posts, owner finishes) is the genuine sweet spot; full professional install trades 15% to 25% of cost for a permitted, warranted, climate-ready fence. If you’re in Enterprise and weighing the three, our team can quote any portion you want to hand off. Looking ahead to a bigger backyard build-out? Our Home Additions & ADU in Enterprise page covers how exterior site work connects to larger projects, and every job – fencing, paving, or structural – comes under the 730-Day Done Right Promise.
Call (844) 797-4406 to schedule your free estimate. Live person answers, day or night. No voicemail, no waiting until Monday. Upfront pricing, itemized line by line, and a written workmanship guarantee from a crew that’s been background-checked and arrives in uniform.
Written by the team at Groundwork Construction Co. of Enterprise.