Last updated November 18, 2026


Free written scope consultation - allowances, timeline, and change-order rules on paper before a single trade is scheduled
DIY vs Professional Windows & Doors: What’s Safe to Do Yourself
Installing a pre-hung exterior door wrong by as little as 1/4 inch out of plumb won’t just cause it to swing open on its own. It creates a continuous air gap that can add $30 – $50 per month to your energy bill, and you won’t notice until your next utility statement. That gap is invisible from the inside, silent from the outside, and easy to live with for a year before the water stains show up on your subfloor. Window and door work sits in an uncomfortable middle ground: some tasks are genuinely homeowner-friendly, and others carry structural and weatherproofing consequences that hide for months. This guide draws the line, task by task, and explains the why behind every one. We build in Enterprise and we’ve seen what happens when the line gets blurred.
Quick Answer
Weatherstripping, hardware, interior trim, caulking, and painting are safe for most homeowners to handle themselves. Full-frame window replacement, exterior door hanging, rough opening modification, and any work that changes the size of an opening belong with a licensed professional. In Nevada, replacements that change the rough opening or exceed certain size thresholds also require a permit and inspection, which is a strong signal you’re past the DIY line. The middle of the job, called rough opening prep and flashing, is where DIY projects fail quietly and cost the most to fix.
Styles & brands we work with
- Kitchen remodeling
- Bathroom remodeling
- Home additions & ADU
- Roofing
- Windows & doors
- Driveway & pavers
- Fence
Table of Contents
- Where the DIY Line Actually Falls
- Homeowner-Safe Tasks: Weatherstripping, Hardware, and Trim
- Professional-Only Work: Full-Frame Replacement and Exterior Doors
- Why Improper Flashing Doesn’t Show Up for 12 – 18 Months
- What Rough Opening Prep Actually Involves
- Nevada Permit Rules for Windows and Doors in Enterprise
- How to Negotiate a Split-Scope Project
- Why Enterprise Heat Makes Window and Door Work Less Forgiving
Where the DIY Line Actually Falls
The useful question isn’t “can I do this myself?” It’s “if I get this wrong, does it fail loud or fail quiet?” A door handle you install wrong rattles. You hear it, you fix it the same afternoon. A window you install wrong by 3 degrees of slope on the sill lets water sit behind the frame, and that water takes a year to announce itself as rot in the wall cavity. The first failure is cheap and irritating. The second is a $4,000 repair that starts with removing drywall.
That distinction is the whole guide. Every task below falls into one of three buckets:
- Fail-loud tasks: Work where a mistake is obvious within hours. Weatherstripping that doesn’t seal, hardware that binds, trim that gaps. Homeowner territory.
- Fail-quiet tasks: Work where a mistake stays hidden for months and then shows up as water damage, energy loss, or a stuck or sagging unit. Professional territory.
- Permit-trigger tasks: Work that legally requires a licensed contractor to pull a permit and pass inspection in Enterprise and the surrounding Nevada jurisdictions. Not homeowner territory at all, regardless of skill.
We’ve walked into Enterprise homes where a homeowner saved $1,800 by installing three windows themselves and paid $5,200 two winters later to repair water damage behind the trim. That’s not a scare story, it’s a math problem. The savings are front-loaded and visible. The cost is delayed and invisible until it isn’t.
Homeowner-Safe Tasks: Weatherstripping, Hardware, and Trim
Roughly 30% of window and door work is genuinely yours to handle. Not “you could technically figure it out” – yours, with a Saturday morning and about $60 in materials. These tasks fail loud, they don’t affect the building envelope, and a mistake costs you an afternoon rather than a wall. If your window or door is solid but drafty, sticky, or squeaky, you probably don’t need a professional at all.
Tasks that are safe to do yourself:
- Weatherstripping replacement. Foam tape, V-strip, door sweeps, and magnetic gaskets. A door that leaks air around the perimeter is almost always a weatherstripping problem, not a window problem. Cost: $15 – $45 in materials.
- Hardware swap. Handles, locksets, hinges, deadbolts, window latches, and sash locks. Standardized hole patterns mean most swaps are a screwdriver job.
- Caulking exterior gaps. Replacing cracked caulk around window frames and door trim prevents minor water infiltration and takes under an hour per opening.
- Interior trim replacement. Casing and baseboard around an existing window or door. If the unit stays put, the trim is cosmetic.
- Painting and staining. Frame touch-up, trim paint, door refinishing. No structural consequence whatsoever.
- Adjusting door strike plates. A door that doesn’t latch right is usually a strike plate that’s 1/8 inch off. Tighten, shim, or reposition.
In our experience, half the “my windows are terrible” calls we get in Enterprise turn out to be weatherstripping and caulk failures on windows that have seven or eight good years left in them. Before you replace anything, spend two hours re-sealing what you have.
Professional-Only Work: Full-Frame Replacement and Exterior Doors
Now the other 70%. Full-frame window replacement, exterior door hanging, rough opening modification, and any change to the size of an opening are not homeowner work in a home you plan to keep. Not because the tools are exotic, but because three specific things go wrong quietly and only surface long after you’ve thrown away the receipt.
Why full-frame replacement is professional work:
- Rough opening measurement. A replacement insert window uses the existing frame. A full-frame replacement removes it, which means the opening itself must be measured for level, plumb, and square. Being within 1/8 inch is the standard, and 1/4 inch off is a fail.
- Structural connection. Full-frame units fasten through the framing, not the siding. Nailing pattern, fastener type, and shim placement decide whether the wall above stays supported and whether the unit stays square over years of thermal cycling.
- Flashing sequence. Every window replacement in Enterprise involves layering the building wrap, sill pan, flashing tape, and trim in a specific order. Reverse two layers and the assembly moves water into the wall instead of out of it.
Why exterior doors are professional work:
- Plumb and level tolerance is measured in sixteenths. A pre-hung exterior door out of plumb by 1/4 inch will swing open under its own weight, bind against the strike, and leak air around the entire perimeter. There is no adjustment that fixes a door installed out of plumb, only a reinstall.
- Threshold pan sealing. The bottom of an exterior door is the most vulnerable part of the assembly. The threshold must sit on a fully sealed pan, and Nevada wind-driven rain still finds substandard pans.
- Lockset alignment. A deadbolt that won’t throw freely because the door is out of square is a security problem, not a cosmetic one, and it means the install has to come apart.
The full-frame window and door work we do in Enterprise always includes a written scope, fixed pricing, and the 730-Day Done Right Promise on the installation. That promise exists because installs go wrong quietly and take a year to show. On a job with consequences that delayed, the warranty is the part that matters.
Why Improper Flashing Doesn’t Show Up for 12 – 18 Months
Flashing is the thin material that routes water away from the rough opening. Done right, water never touches the framing. Done wrong, water touches the framing every time it rains, and the damage happens in stages you cannot see from inside the house.
The 12-to-18-month timeline of a flashing failure:
- Month 1 – 3: Water enters behind the window frame and pools on the sill plate. Nothing visible on the interior because drywall and insulation are still intact.
- Month 4 – 8: The sill plate, if standard lumber, starts absorbing moisture. Wood expands and rot organisms establish. Still nothing visible inside.
- Month 9 – 14: Interior drywall around the window begins to show faint water staining or bulging. Most homeowners attribute it to the window itself, not the wall.
- Month 12 – 18: If the damage is behind a window in a hot Enterprise exterior wall, the drywall softens enough to be obvious when you press it. Soft spots appear under the sill. Rot has typically spread into the sheathing and sometimes the top plate.
By the time you see it, the repair has moved from re-flashing one window (a $250 – $400 fix if you’d caught it during install) into opening the wall, replacing sheathing, treating for mold, and rebuilding. A single missed window flashing detail in an Enterprise home routinely runs $3,500 – $6,000 in repair because of the delay. We’ve seen worse. That’s what “fail quiet” costs.
The fix at install time is boring: sill pan with back dam, correct flashing tape sequence, and a drip cap where the head flashing meets the trim. Fifteen minutes of correct work per window. But there is no way to verify the work after the trim goes on without pulling the trim off, which is why flashing is a professional step, not a homeowner one.
What Rough Opening Prep Actually Involves
YouTube tutorials for window installation tend to jump from “cut the opening” to “slide the window in.” The step in between, rough opening prep, is where the whole install is decided, and it’s the largest single reason DIY window jobs fail. Prep is not complicated. It’s specific.
Rough opening prep, step by step:
- Verify dimensions against the unit. Rough opening should be 1/2 to 3/4 inch larger than the window frame in width and height, and square within 1/8 inch corner to corner. If it’s out, you’re modifying framing, not installing a window.
- Inspect and repair framing. Any rotted sheathing, cracked studs, or previous water damage is replaced before the new unit goes in. Covering damage up is how a $400 repair becomes a $4,000 repair.
- Install a sloped sill pan. A shimmed sill plate with a slight outward slope, covered by a sill pan with a back dam. Water that gets behind the window must drain out, not in.
- Apply flashing tape sequence. Sill first, then jambs overlapping the sill, then head flashing overlapping the jambs. Reversed order is a slow-motion leak.
- Set the window level and plumb. Shim under the sill at quarter points, check level across and plumb on both sides. Rough opening prep finishes by locking in the geometry before a single nail goes in.
- Insulate and seal the interior gap. Low-expansion foam, backer rod, then sealant. High-expansion foam bows jambs and undoes every step before it.
Every step is fast. Every step is also the one a tutorial skips. If you want to do your own prep work on a project and hand the structural install to a professional, that’s a real option, and it’s the subject of a section further down. But if a full-frame install is entirely yours, prep is what you have to own completely.
Nevada Permit Rules for Windows and Doors in Enterprise
Nevada’s permit rules for window and door work are less complicated than most homeowners assume, but they do catch a specific group: anyone replacing a unit with a different size, changing the rough opening, or moving a door or window location. Straight replacement in the same size and location often doesn’t require a permit, but any change to the opening does, and Enterprise projects follow Clark County permitting standards because we’re in unincorporated Clark County.
When a permit is typically required in Enterprise:
- Replacing a window or door with a larger or smaller unit, which changes the rough opening
- Changing a window into a door or a door into a window
- Adding a new window or door where none existed, including moving a door to a new location
- Installing an egress window in a bedroom or basement, which has specific size requirements tied to life safety
- Any work that alters framing or load-bearing wall structure
When a permit typically isn’t required:
- Direct replacement of a window or exterior door with a same-size unit in the same location
- Weatherstripping, hardware, caulking, trim, and paint
Two consequences matter for a homeowner planning to work themselves. First, unpermitted work in Clark County becomes a disclosure problem when you sell the house, and it must legally be disclosed in Enterprise real estate transactions. Second, if the work that isn’t permitted later fails, an insurance claim on water damage can be denied because the installation wasn’t inspected. The permit isn’t red tape. It’s the record that the install was checked before the wall closed.
Permits in Enterprise require the work to be inspected at rough opening stage and again at completion, which is another quiet reason a permit-trigger project isn’t a homeowner project. The inspector needs to see inside the assembly. Skip that step and no one is verifying the flashing before it disappears behind drywall. Groundwork Construction Co. of Enterprise pulls permits on every project that requires them and handles the inspections, so the record is complete for the life of the home.
How to Negotiate a Split-Scope Project
Split-scope projects are real and they work. A homeowner who wants to save money can do site prep, demolition, interior trim, paint, and finish work, and hire a licensed contractor for the structural install and permit work. We do this in Enterprise on a regular basis, and it saves our clients $800 – $2,500 on a typical window replacement project, depending on scope. The trick is negotiating it clearly, which most contractors will do if you approach it right.
Steps to negotiate a split-scope project:
- Define the line precisely. Write down exactly what you’ll do (demo of old trim, removal of interior casing, cutting back drywall for rough opening access, final painting) and exactly what the contractor does (unit install, flashing, insulation, permit, inspection). Vague handoffs cause disputes.
- Ask for a line-item bid. You want the install price broken out from the materials, permit, and finishing. If they only give you a lump sum, the split becomes impossible to price.
- Confirm the warranty split in writing. Workmanship covered by the contractor, your finishing work covered by you. Groundwork’s 730-Day Done Right Promise covers our install work, but if you installed the trim and the trim leaks, that’s a different conversation. Get both sides in writing.
- Agree the schedule handoffs. Who shows up on day one, what state the opening has to be in, and when the contractor’s portion is complete. Split-scope projects fail on handoff timing.
- Confirm permit assignment. If a permit is required, the licensed contractor pulls it and the licensed contractor’s name is on it. You cannot pull a permit for work you’re not licensed to perform.
Split-scope works best on replacements in existing frames and on interior-facing work. It works badly on full-frame installs where the whole assembly has to come apart and go back together as one unit, because you’d be splitting the work right at the rough opening prep step, which is the step that needs to be done in one continuous sequence by one party. If that’s the project you’re facing, split-scoping saves you less and adds coordination risk. Have that conversation before you sign, not after.
We also handle split-scope on other trades the same way. Homeowners who bring us in to handle the built-in cabinetry and leave finishing trim to their own weekend schedule, or who take on the demo on a Driveway & Pavers in Enterprise project while we handle the base and compaction, are using the same principle.
Why Enterprise Heat Makes Window and Door Work Less Forgiving
Window and door installs in Enterprise face a narrower margin for error than the same install in a milder climate. Summer afternoons regularly push past 105°F, and exterior units see 60°F or more of swing between summer highs and winter lows. That thermal cycling is what exposes sloppy installs, and it does it faster here than in most of the country.
What that means on the ground in Enterprise:
- Sealant degrades faster. Polyurethane and silicone exterior sealants on south and west-facing windows in Enterprise sun typically hold three to four years before needing replacement, versus five or more in milder climates. A poor caulk job that would last elsewhere fails in one summer here.
- Improper shimming shows up within the first summer. A window installed without proper shim placement will bow under the expansion of a 108°F day and stick within the first season. Owners often blame the window; the install is the problem.
- Exterior door thresholds take the highest stress of any assembly. A pre-hung exterior door in an Enterprise entryway sees extreme UV load, heat-warping on the threshold, and dry-rot pressure from seasonal humidity swings. Every one of those stresses lands on the installation detail.
- Dust intrusion through poorly sealed units. Enterprise wind-driven dust is fine and gets into every gap. A door or window with even 1/16 inch of gap that isn’t sealed becomes a dust source inside the house.
When we specify windows in Enterprise, we lean on manufacturers with strong thermal performance stories: Andersen and Marvin for windows, and James Hardie for the exterior envelope details around the opening where trim and siding meet the flashing. Those choices matter more here than they do in a milder climate because the assembly is under more stress, more of the year.
The other side of that equation: an install done right in Enterprise holds longer than many homeowners expect. We install windows and exterior doors under the 730-Day Done Right Promise because the first two years of thermal cycling expose almost every shortcoming, and we want to be the ones making it right when one shows up.
Common Mistakes to Avoid
- Skipping the sill pan because “it doesn’t rain much in Enterprise.” Storm events in Enterprise regularly bring several inches in a single afternoon, and water behind a window frame stays there for weeks. The pan is the cheapest insurance on the whole job.
- Reversing flashing layers. Head flashing has to overlap jamb flashing, and jamb flashing has to overlap the sill pan. Reverse any of those and the assembly moves water into the wall. This is the single most common DIY failure we see.
- Using high-expansion foam around window jambs. Window and door foam is low-expansion for a reason. High-expansion foam bows the jamb over a few hours, and the unit no longer closes properly. It also voids most manufacturer warranties.
- Installing an exterior door without checking plumb through the full height. A door that’s plumb at the top and out at the bottom swings open on its own. Check plumb on both sides and the hinge side at top, middle, and bottom.
- Assuming no permit is needed because it’s a direct replacement. True only if the unit and rough opening are the same size. Any change to the opening in Enterprise requires a Clark County permit and inspection, regardless of how small.
- Removing structural framing to fit a bigger window without engineering. Widening an opening in a load-bearing wall without a header and engineering plan compromises the wall above. This is a professional-designed job even for contractors.
- Ignoring manufacturer warranty conditions. Most window and door brands require certified installer training or a licensed contractor for warranty coverage to apply on structural install. A DIY install can void coverage on a $900 window with no recourse.
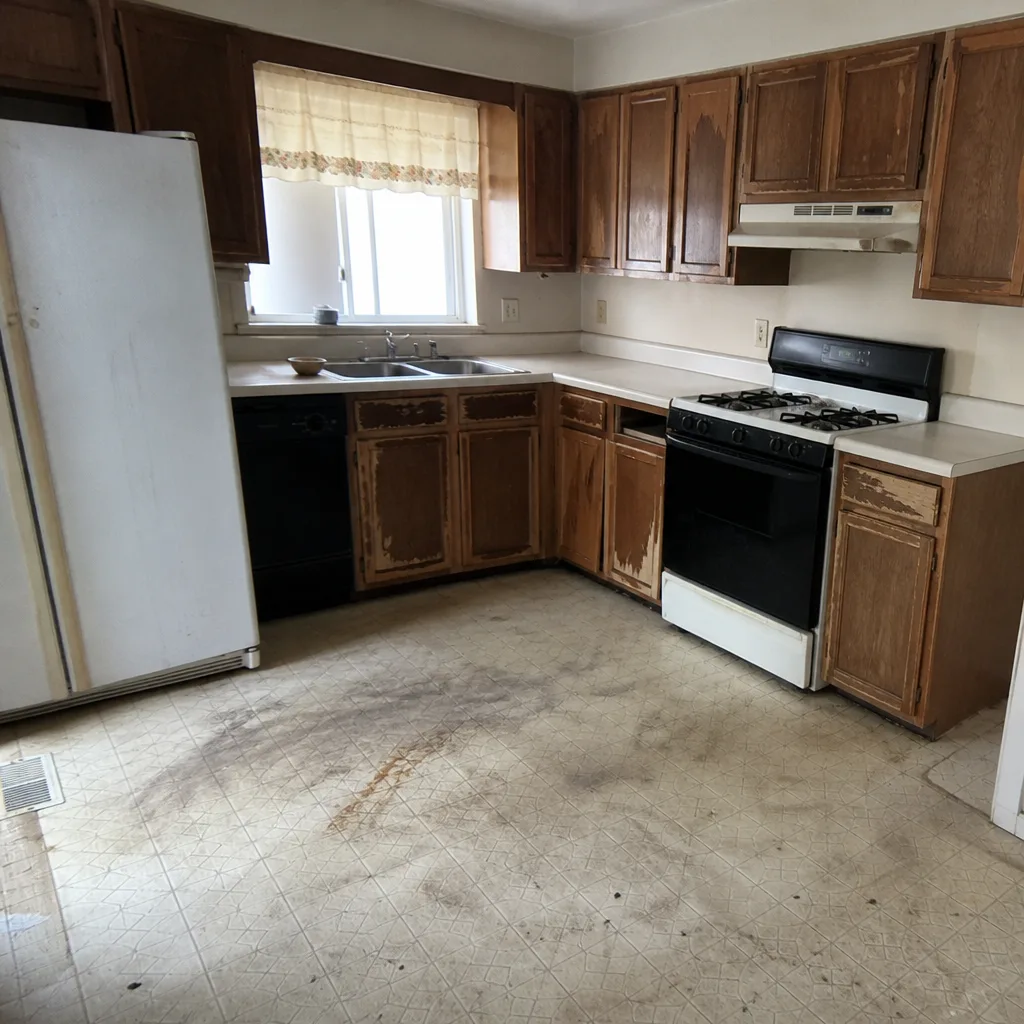
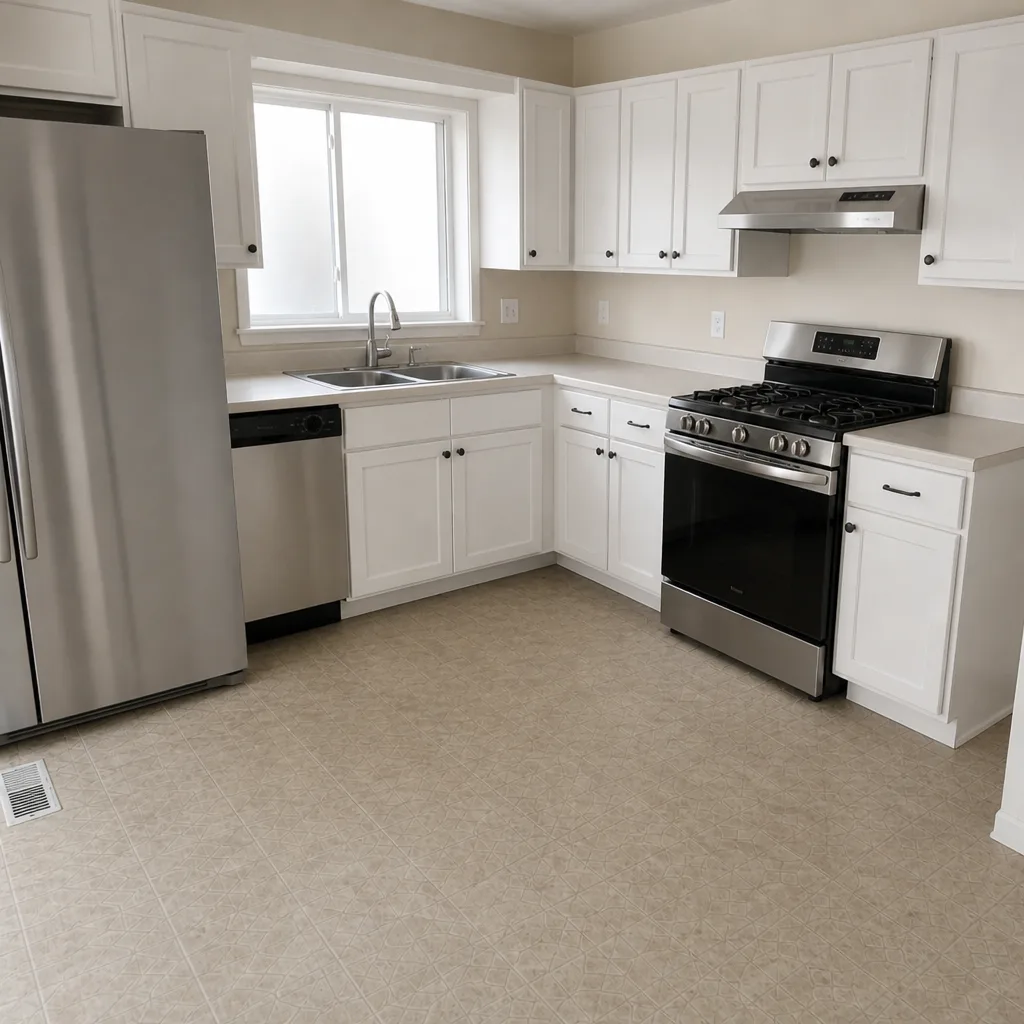
See the difference
 Before
 After
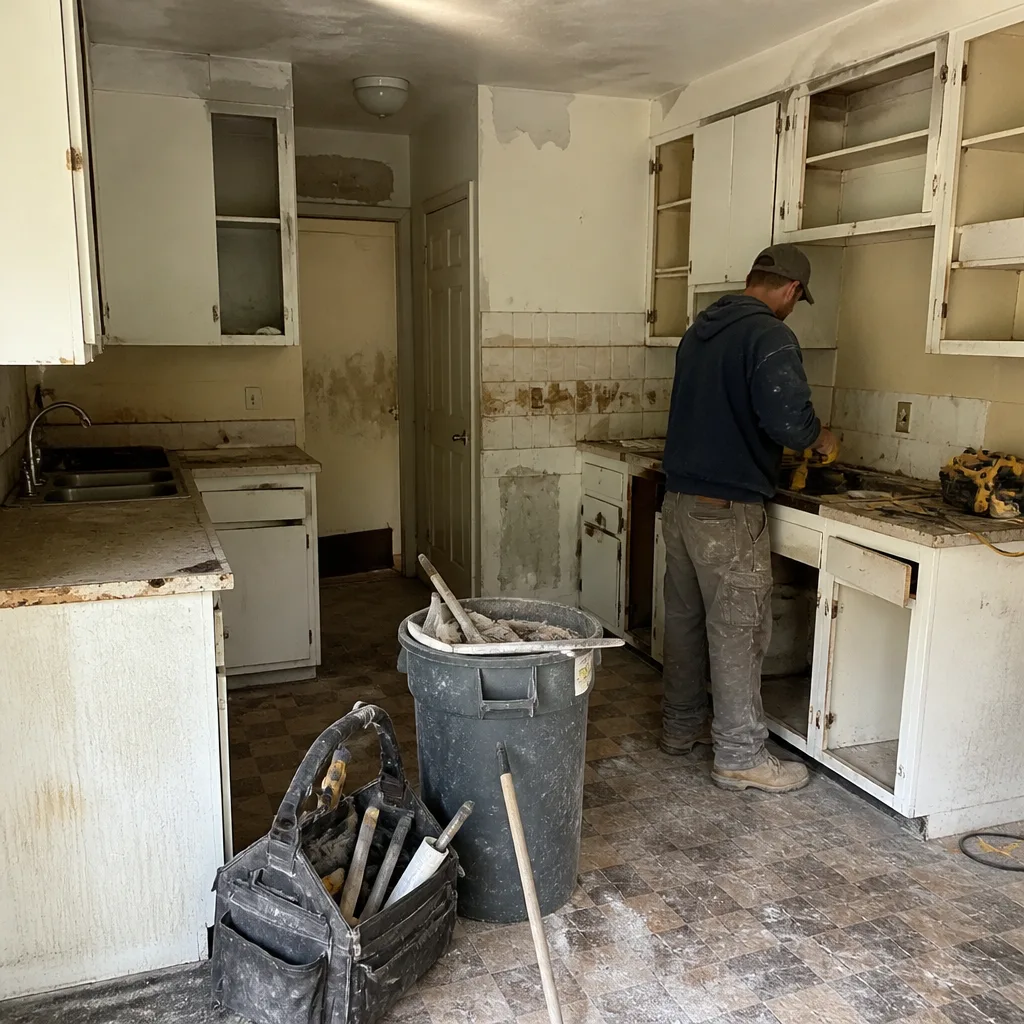 Before
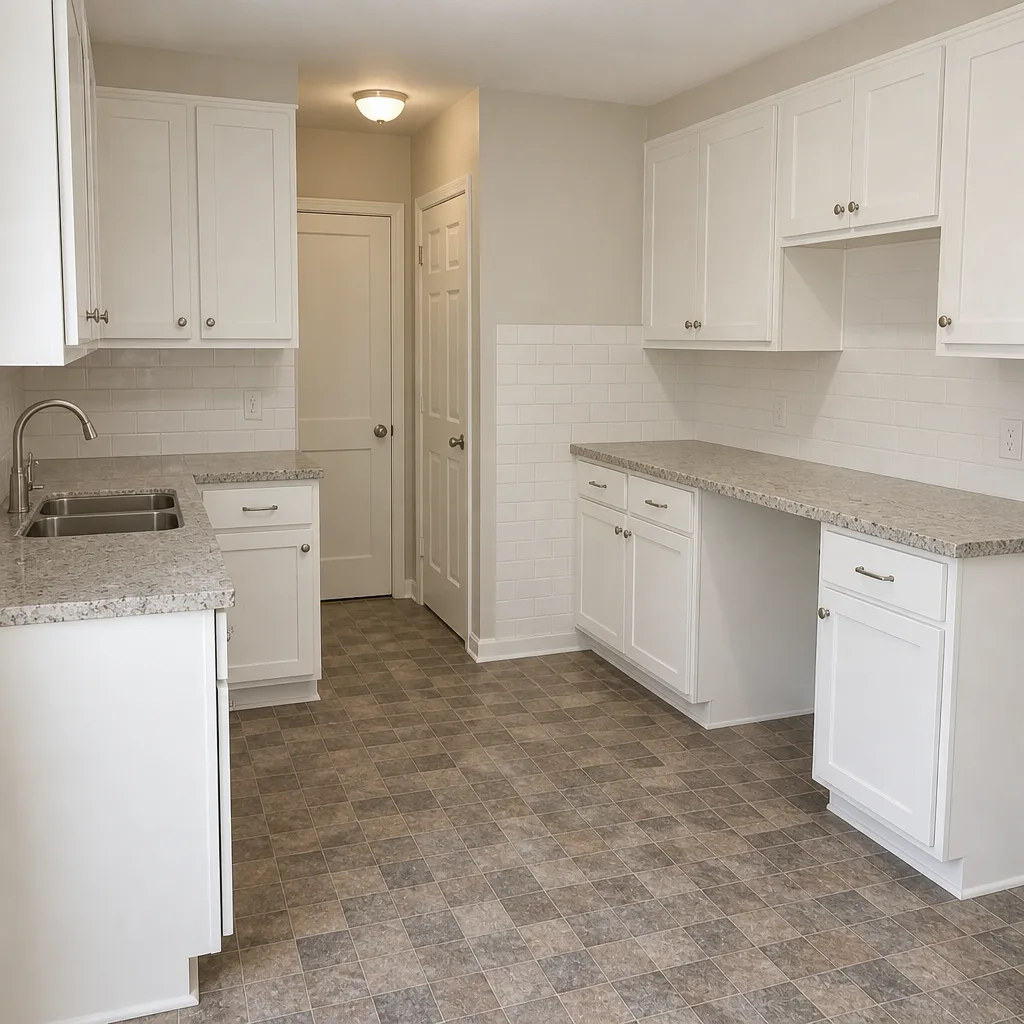 After
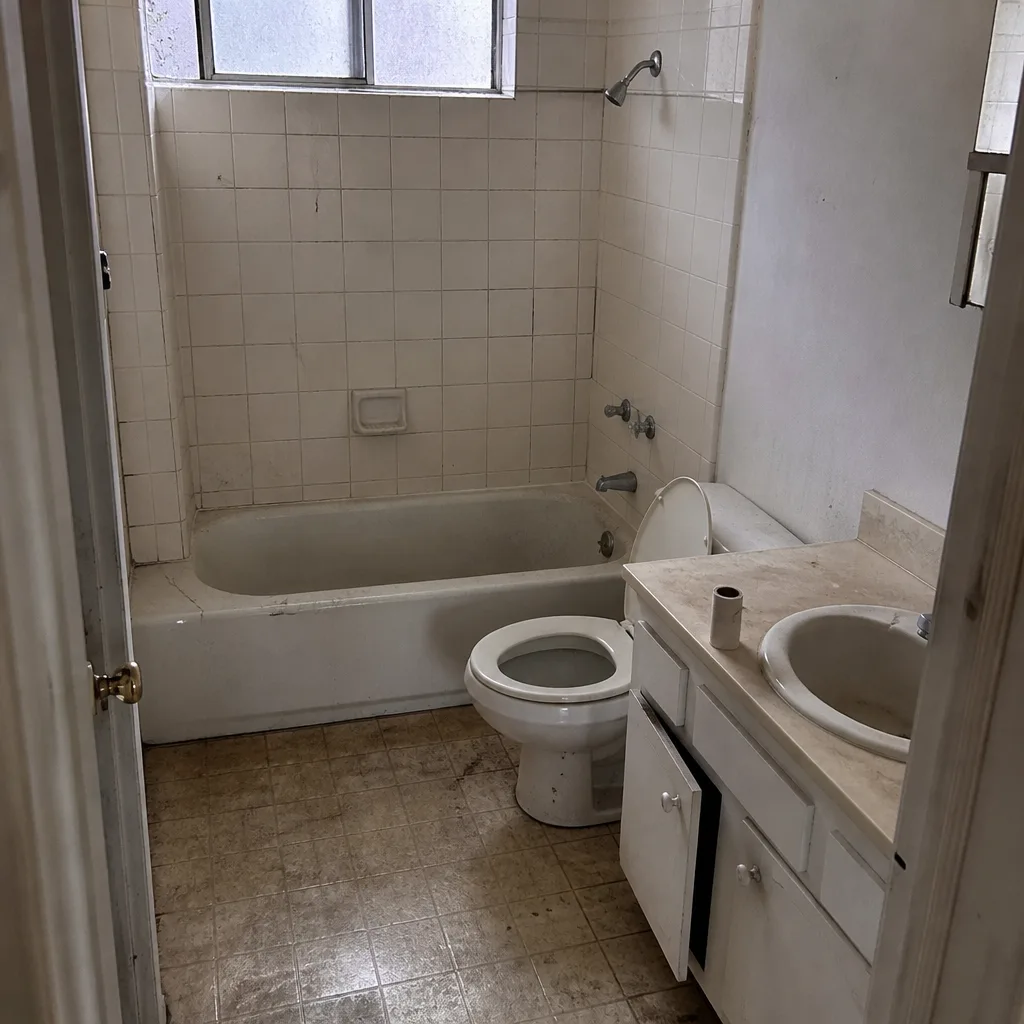 Before
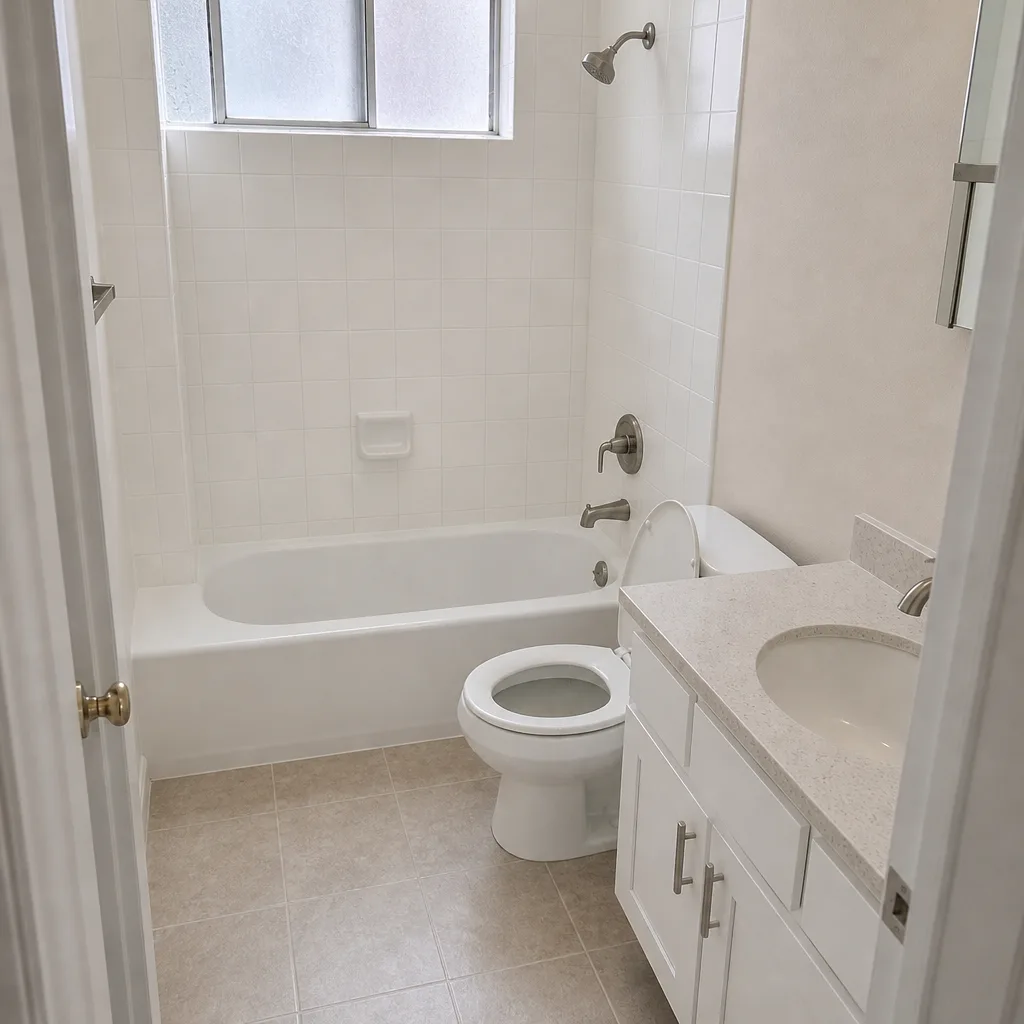 After
When to Call a Professional
Call a licensed professional when the project changes the size of an opening, requires a permit, involves a load-bearing wall, or installs an exterior door that has to be plumb and sealed for the long term. Call also when the unit is a full-frame replacement rather than a direct insert, or when you’ve found water damage behind the existing trim, because the damage is the actual project at that point. Those aren’t judgment calls. They’re the scenarios where a bad outcome is invisible for a year. Groundwork Construction Co. of Enterprise offers free estimates in Enterprise on every window and door project we handle, and we’ll tell you plainly when a scope is DIY-appropriate and when it isn’t. Call (844) 797-4406 and we’ll walk through it with you.
Frequently Asked Questions

Yes, if it’s a direct same-size replacement in the same location and your jurisdiction doesn’t require a permit for the swap. In Enterprise, any change to the rough opening size or location triggers a permit and inspection that only a licensed contractor can pull. Direct same-size replacement is legally yours to do; full-frame replacement and resizing are not.
Window installation in Enterprise typically runs $450 – $1,200 per window for standard double-hung units, with full-frame replacements at the higher end because of trim, flashing, and permit work. Custom sizes, second-story installs, and window materials like Andersen or Marvin wood-clad units push the range higher. Call (844) 797-4406 for an exact quote on your project. Estimates are free.
Not with a written line-item bid that fixes the scope, materials, and labor before the first day. Groundwork Construction Co. of Enterprise gives no-hassle upfront pricing on window and door projects, and the number on the bid is the number on the final invoice unless you approve a change yourself. If someone hands you a lump-sum bid with a wide allowance on materials, expect the price to move during the project.
Yes. Any Enterprise project that requires a Clark County permit is pulled by Groundwork Construction Co. of Enterprise before work starts, inspected at rough opening stage, and inspected again at completion. The permit and inspection record belongs to your home, which matters at resale and if you ever need to file an insurance claim on water damage.
A single direct-replacement window in Enterprise typically takes two to three hours of on-site work; a full-frame replacement takes half a day per window including flashing, trim, and sealant. Multi-window projects usually run two to four days on site. We schedule entire projects around your household routine rather than the crew’s calendar.
Air movement at the window perimeter on a windy day is the earliest reliable signal, followed by condensation on the interior glass or frame. Water staining on interior drywall means the failure is at least six months old. If you’re already seeing the drywall staining, get an inspection before you spend money on trim work or paint.
Yes, and it’s one of the cleanest split-scope arrangements available. Groundwork handles the install, flashing, and permit work; you handle the interior trim, paint, and casing at your own pace. That split saves $400 – $900 on a typical multi-window Enterprise project, and it keeps the part that requires a permit and a warranty with the licensed crew.
The Bottom Line
Weatherstripping, hardware, caulking, and interior trim are yours. Full-frame window replacement, exterior door hanging, rough opening prep, flashing, and any work that changes the size of an opening belong with a licensed professional, and in Enterprise any permit-trigger project also legally requires one. The dividing line isn’t skill, it’s consequence: tasks that fail loud are safe, tasks that fail quiet are not. If you want to split a project, negotiate a line-item bid and a clear handoff at rough opening prep so the part that needs to stay continuous stays with one crew. The 80/20 rule of window and door work is that 80% of your savings live in the parts that are safe, and 20% of your cost lives in the parts that aren’t.
If you’re planning a window or door project in Enterprise or the surrounding area and you want an honest read on which side of the line your scope falls, we’re glad to talk it through. Groundwork Construction Co. of Enterprise home is where every conversation starts. From there, you can read up on our Fence Installation in Enterprise and Home Additions & ADU in Enterprise work to see how we handle exterior envelope projects in the same region and climate.
Call (844) 797-4406 to schedule your free estimate. Calls are answered by a live person 24/7, projects over $10,000 get $1,000 off, and 0% financing is available for 18 months. Every window and door install is backed by our 730-Day Done Right Promise: if it’s not done right, we make it right.
Written by the team at Groundwork Construction Co. of Enterprise.