Last updated November 18, 2026






Free written scope consultation - allowances, timeline, and change-order rules on paper before a single trade is scheduled
Driveway & Pavers Maintenance Schedule: What to Do and When
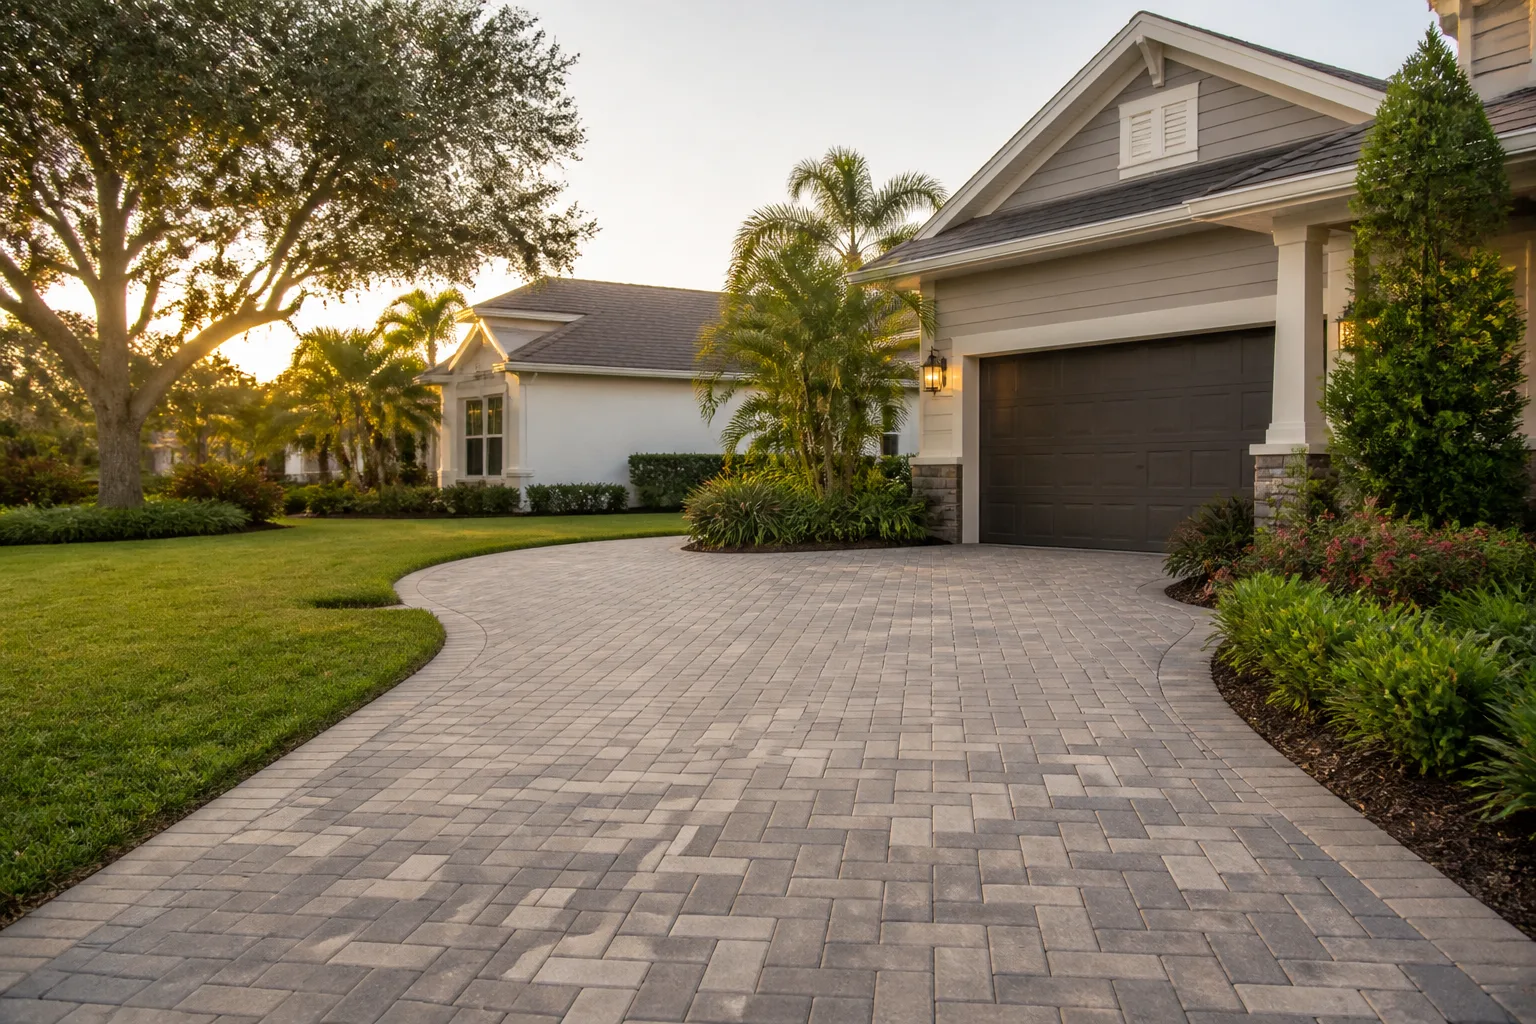
Two summers without fresh polymeric sand is the most common reason a paver driveway in Enterprise starts to shift, and the fix costs about $40 in a bag of sand versus a few thousand dollars to pull up and re-level a sunken field. That gap is the whole story of paver care in the desert: small, cheap tasks on the right calendar prevent expensive structural repairs. This guide lays out a month-by-month schedule built around Enterprise’s actual climate, explains why sealing in June and sealing in October are not the same job, and shows you how to catch edge restraint failure before it spreads. You’ll finish knowing exactly what to do, when to do it, and what honest annual maintenance costs in Enterprise.
Quick Answer
In Enterprise, paver driveways need three real maintenance events per year: a spring joint-sand top-off and inspection in March or April, a deep clean and seal in October once the UV peak has passed, and a light post-winter check in January or February after the brief moisture window. Everything else is spot work. If you do those three things on schedule, a properly installed paver driveway holds its level and color for decades in southern Nevada’s heat.
Styles & brands we work with
- Kitchen remodeling
- Bathroom remodeling
- Home additions & ADU
- Roofing
- Windows & doors
- Driveway & pavers
- Fence
Table of Contents
- Why Enterprise’s Climate Changes the Rules
- The Month-by-Month Paver Calendar for Enterprise
- Joint Sand: The Task That Prevents Everything Else
- Sealing in June vs. Sealing in October
- How to Catch Edge Restraint Loosening Early
- The 20-Minute Seasonal Inspection Walk
- What Annual Paver Maintenance Actually Costs in Enterprise
- When Maintenance Turns Into Repair
Why Enterprise’s Climate Changes the Rules
Most paver maintenance advice online was written for a four-season climate with freeze-thaw cycles and steady summer rain. Enterprise doesn’t work that way. We get roughly 4 to 5 inches of rain a year, most of it between December and March, and summer highs that sit above 100°F for weeks. That combination creates a very specific failure pattern, and once you understand it, the schedule writes itself.
The heat is the primary stress. Pavers expand and contract through daily temperature swings that can span 35 to 40 degrees between a July afternoon and the same night. Polymeric sand in the joints flexes with that movement. Over two summers of unrelieved UV exposure, the binder in the sand breaks down and the joints start to hollow out. Once joints are open, water from the winter rains runs straight into the bedding layer instead of shedding off the surface. That’s when you get settlement, rocking pavers, and the rutted sections we see constantly in older Enterprise neighborhoods.
The moisture window matters too, but in reverse from what most guides assume. A single heavy January rainstorm on a driveway with degraded joint sand can do more damage in 48 hours than six months of dry heat. Water gets under the field, the base softens, and a paver that was flat in December is 3/8-inch low by February.
There’s a third local factor: caliche and the hard desert subgrade common across the valley. When base preparation is right, this is a strength. When water finds a path into the bedding layer, that same subgrade drains poorly and holds moisture against the base longer than a sandy soil would. The takeaway: joint integrity isn’t cosmetic in Enterprise. It’s the waterproofing layer for the entire driveway. If you’re starting from scratch rather than maintaining an existing surface, our Driveway & Pavers in Enterprise page covers base prep and material selection in detail.
The Month-by-Month Paver Calendar for Enterprise
Here’s the schedule we recommend for a paver driveway in Enterprise. It assumes an existing, properly installed driveway. New installs under a year old need less; badly neglected driveways need a full reset first.
January – February: Post-Winter Inspection
Walk the driveway after the last meaningful rain of the season. Look for low spots holding water, sand depletion along the edges, and any paver that rocks underfoot. Do any pull-and-reset repairs now, before the heat arrives and before the surface gets too hot to work comfortably. This is also the best window for weed-pulling in open joints, since the soil is soft and the roots come out cleanly.
March – April: The Big Spring Top-Off
This is the most important maintenance event of the year. Replenish polymeric joint sand across the entire field, especially on the sun-facing half of the driveway and every edge course. Inspect edge restraint while you’re at it. Clean up winter debris and any caliche dust that has settled into the joints. If you do one task a year, make it this one.
May – September: Hands Off and Watch
Deep summer is not the time for sealing, sanding, or pulling pavers. Surface temps on an unshaded Enterprise driveway hit 140°F to 160°F in July, and polymeric sand and sealers both cure unpredictably at those temperatures. Spot-treat weeds, sweep off debris, and note anything that needs attention for October. If a paver does loosen, mark it and wait.
October: Deep Clean and Seal
Once daytime highs drop under about 85°F, the sealing window opens. Clean the surface thoroughly, dry it, and apply sealer according to the product’s temperature spec. October in Enterprise is the sweet spot: warm enough for good adhesion, cool enough for the sealer to level and cure evenly. This single task is what protects everything you did in March.
November – December: Rest and Sweep
Keep the surface clear of leaves and desert debris so winter rain drains quickly. Check that any drainage swales or channel drains on the property are unobstructed before the wet season arrives. Nothing else is required.
If your property includes perimeter hardscape, fencing, or a future addition, this is also the time to think about how all of it coordinates. Our Fence Installation in Enterprise guide explains how proper drainage at the property line can protect your driveway edge course, and our Home Additions & ADU in Enterprise page covers what to know before you add a structure near an existing driveway or hardscape.
Joint Sand: The Task That Prevents Everything Else
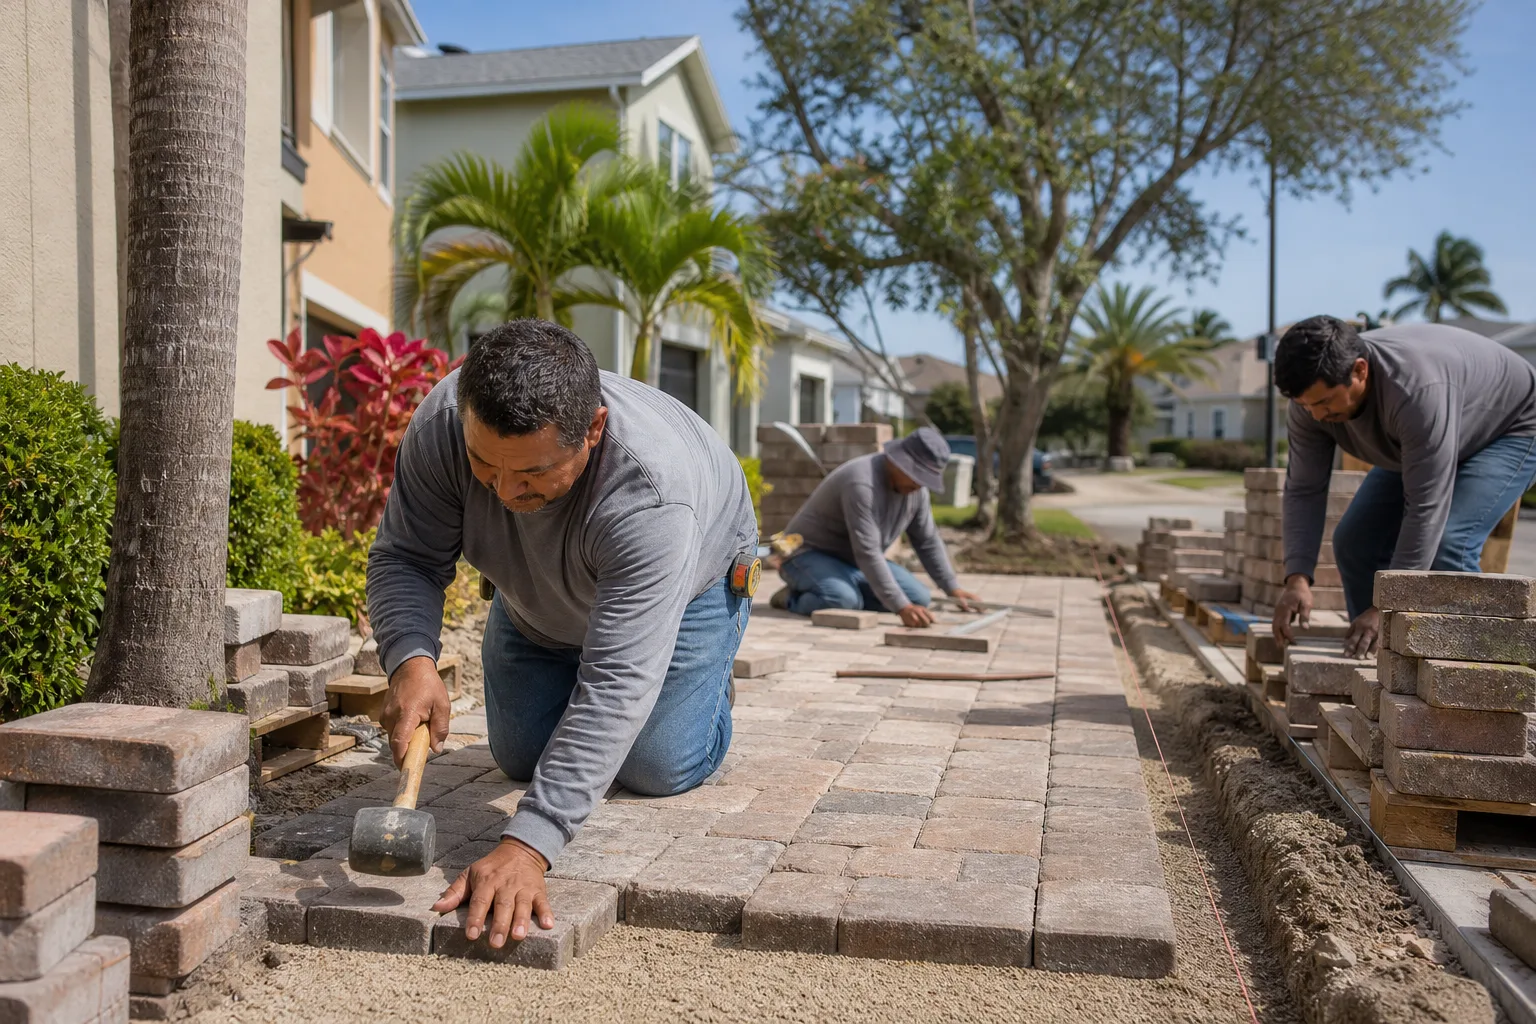
Polymeric sand is the material that locks pavers together and sheds water off the surface. When it’s intact, the driveway behaves like a single slab that flexes. When it erodes out, the pavers behave like loose bricks, grinding against each other and letting water in. Replacing joint sand costs a few dollars a bag; replacing a settled field costs thousands. This is the task worth getting right.
What the right process looks like
- Inspect joint depth. Walk the driveway and press a screwdriver or key into joints at random. Joints within 1/8 inch of the paver surface are low enough to need sand.
- Clean out the joints. Remove old sand, dirt, weeds, and debris with a stiff broom and a small pick or screwdriver. Open joints need to be clear to about half their depth.
- Dry the surface completely. Polymeric sand will not set on a damp paver. Give the driveway at least 24 to 48 dry hours after any cleaning or rain.
- Pour and sweep. Spread sand over the surface and work it into joints with a broom, sweeping diagonally across the field. Refill low joints and repeat until joints are full and level.
- Compact the joints. Run a plate compactor over the field with a rubber pad to consolidate the sand. This step is what separates a sand job that lasts three years from one that lasts one.
- Activate and cure. Follow the sand manufacturer’s water-activation instructions precisely. Then leave the driveway alone for 24 hours.
The most common mistake we see in Enterprise is skipping step five. Homeowners sweep sand in, water it, and expect it to hold. Without compaction, polymeric sand in a desert climate typically loses its binder and washes out within a single winter. If you’re not sure the job was done right, a professional can assess in about 20 minutes.
Sealing in June vs. Sealing in October
Sealer does two jobs: it locks joint sand in place and it blocks UV damage to the paver face. In a mild climate, the timing barely matters. In Enterprise, it matters enormously. Sealing the same driveway in June and in October produces measurably different results, and we’ve seen enough failed summer sealing jobs to be direct about it.
The June problem
Most sealers need the surface temperature to stay in a defined range, typically between 50°F and 85°F, for the full cure window. An unshaded paver surface in Enterprise in June can hit 140°F or higher even when air temperature is 95°F. When sealer is applied to a surface that hot, three things happen: the solvent flashes off before it can level, the film develops bubbles and brush marks, and the sealer bonds weakly to the pavers. Within a season, that coat starts peeling in sheets. It’s not a material failure; it’s a timing failure.
Why October works
By mid-October, Enterprise daytime highs are typically in the low 80s, and mornings stay in the 50s and 60s. Surface temps stay in a workable range for four to six hours a day. The sealer levels, penetrates, and cures evenly. We typically recommend sealing between mid-October and mid-November for exactly this reason, and we avoid applying sealer if a hot spell past 90°F is forecast within 48 hours.
What to check before any sealer goes down
- Joints must be full of fresh sand first. Sealer over hollow joints is wasted money – it locks nothing in.
- The surface must be clean and completely dry. Any cleaning residue or moisture trapped under sealer becomes a milky haze.
- Surface temperature, not air temperature, should be within the sealer’s spec. Check with an infrared thermometer.
- No rain forecast for 24 hours, and no wind above 15 mph. Blowing dust in the desert will land in fresh sealer and cure into the film.
Applying sealer correctly takes material knowledge and a feel for the product. A homeowner can do it once with acceptable results; a pro does it every week and knows the failure modes. If you want it done once and right, that’s a conversation worth having before October.
How to Catch Edge Restraint Loosening Early
The edge restraint is the concrete or plastic curb that runs along the perimeter of the driveway and holds the field from spreading. When it fails, you don’t just get a loose edge paver – you get a cascading shift that walks inward across the entire field. This is the failure mode nobody catches early because it’s invisible until the damage is advanced.
What to look for
- A visible gap between the paver edge course and the restraint. Even a 1/16-inch gap is a sign the field has started creeping.
- Loose edge pavers that rock or shift when you step on them intentionally.
- Cracked or spalling restraint along the driveway curb line. Desert UV and daily expansion cycles work on concrete restraints too.
- Sand leaking out at the property edge on a dry day. If sand is walking out of the driveway, the restraint is letting the field move.
- Joint width opening in the outermost three or four courses. If joints at the edge look wider than joints in the middle of the field, the edge has moved.
What to do about it
Minor gaps and small edge shifts are usually fixable in a single visit. The restraint gets re-secured with spikes, the edge course is reset and re-sanded, and the field is checked for any secondary movement. The mistake to avoid is waiting. A restraint that’s loose in October becomes a 20-square-foot reset in the spring, and the cost difference is significant. When we assess an Enterprise driveway, the edge is the first place we look, because it tells us more about the field’s health than the surface appearance does.
The 20-Minute Seasonal Inspection Walk
You don’t need to schedule a professional inspection to know whether your driveway is healthy. Twenty minutes, four times a year, will surface almost every developing problem before it costs real money. Here’s the walk we recommend, in order:
- Walk the perimeter first. Start at one corner and follow the edge restraint all the way around. Look for gaps, cracks, and shifting edge pavers. This is where failures show up first.
- Look at the joints from a low angle. Crouch or kneel at one end and sight down the surface. Hollow joints and low spots are visible immediately from this angle, even when they’re invisible from standing height.
- Press on a dozen pavers at random. Any that rock or move need attention. Mark them with chalk.
- Check the drainage path. After a rain, look for water pooling anywhere on the driveway. Standing water for more than an hour after rain means joint sand is compromised or the surface has settled.
- Scan for color change. Patches that look duller or lighter than the rest of the field are usually spots where the sealer has failed and UV is starting to affect the face.
- Check your downspouts and gutters. Water from the roof should discharge away from the driveway, not onto it. A single misdirected downspout can undermine a driveway edge in a couple of seasons.
Write down what you see and date it. After two or three inspections you’ll be able to spot change quickly, and you’ll have a real record to work from if you ever need professional repair.
What Annual Paver Maintenance Actually Costs in Enterprise
Budgeting for paver maintenance is easier when you know what the numbers look like. Here are honest ranges for common tasks in the Enterprise market. Actual prices depend on driveway square footage, access, and condition.
- DIY joint sand top-off (materials only): $40 – $120 for polymeric sand and a bag or two of extra material for a typical two-car driveway.
- Professional joint sand top-off with compaction: $250 – $500 for a standard residential driveway, typically completed in a single visit.
- Deep clean and seal: $450 – $900 depending on square footage, sealer type, and how much prep work is needed.
- Edge restraint repair: $200 – $600, depending on how many linear feet are involved and whether the edge course needs to be reset.
- Pull-and-reset for localized settlement: $400 – $1,200 for a small area, priced by square footage.
- Full field re-level with base correction: the big one – typically $3,000 – $6,000+ for a standard driveway, and exactly the outcome the maintenance schedule exists to prevent.
Add those up honestly and a well-maintained paver driveway is a $600 – $1,200 annual investment in most Enterprise homes. That’s a fraction of what a full re-level costs, and it’s the reason we push maintenance as hard as we do. If you want a line-item number for your specific driveway rather than a range, that’s what a free estimate is for.
When Maintenance Turns Into Repair
Not every problem is a maintenance problem. Here are the signs that what you’re looking at needs actual repair, not another bag of sand:
- Settlement deeper than half an inch. Surface-level sand won’t fix it; the base or bedding layer needs attention.
- Pavers rocking over a large area. One or two loose pavers is a spot fix; a whole field rocking means the base has lost integrity.
- Restraint separation across more than 10 linear feet. That’s structural, not cosmetic.
- Water pooling for hours after rain. Usually means the driveway has settled below its drainage grade, which requires re-grading or re-leveling.
- Repeated sand loss in the same area. If polymeric sand disappears from the same joints within a season, the problem is under the sand, not in it.
When those signs show up, get an assessment before spending more on maintenance. Sand and sealer applied over a failing base are money spent twice.
Common Mistakes to Avoid
- Sealing in summer. Applying sealer to a paver surface above 85°F in Enterprise produces peeling, bubbling, and weak adhesion. October is the season here; June is not.
- Sweeping fresh sand into hollow joints without compacting. The sand will fail within one rainy season. Compaction is what makes polymeric sand last.
- Pressure-washing with too much pressure or too close an angle. High-pressure washing strips the joint sand and can chip the paver face. If a joint looks fresher than its neighbors after washing, the schedule just moved up.
- Ignoring edge restraint when the field looks fine. The perimeter is where failure starts, and it’s invisible until it has already moved the field.
- Applying sealer over wet or dirty pavers. Trapped moisture and dust cure into a permanent haze that requires chemical stripping. Check surface dryness twice before sealing.
- Waiting until pavers shift before adding sand. By the time a driveway moves, the repair has moved from the sand aisle at the hardware store to the base layer underneath.
- Trusting a summer installation to stay level. Pavers installed in extreme heat without proper compaction and hydration of the base can settle within a single season. If you’re replacing a failed driveway rather than maintaining one, base prep matters more than material choice.
The common thread: the cheap tasks done on schedule prevent the expensive tasks. There’s a reason we recommend starting from a strong installation whenever a driveway has already crossed into repair territory. If you’re planning a paver project rather than maintaining one, our Groundwork Construction Co. of Enterprise home page shows how we approach the full scope.
See the difference
 Before
 After
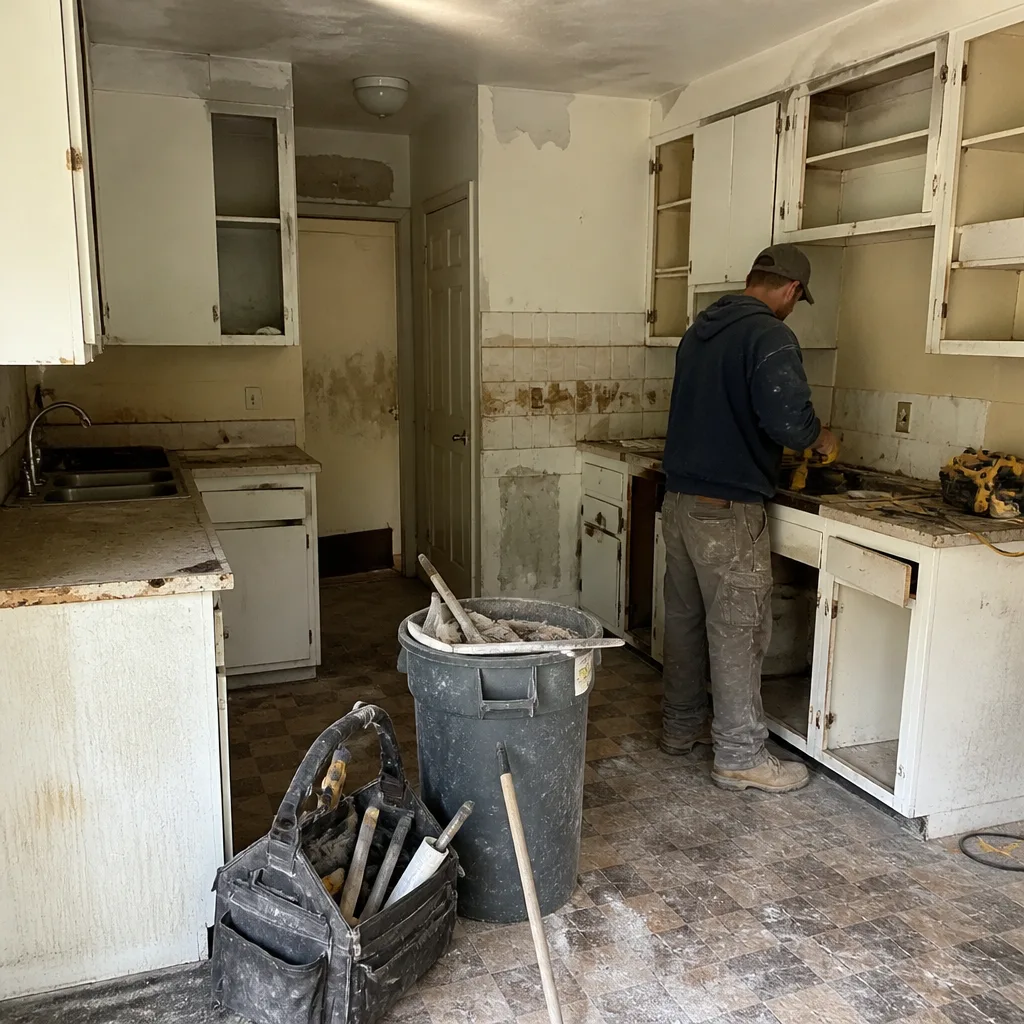 Before
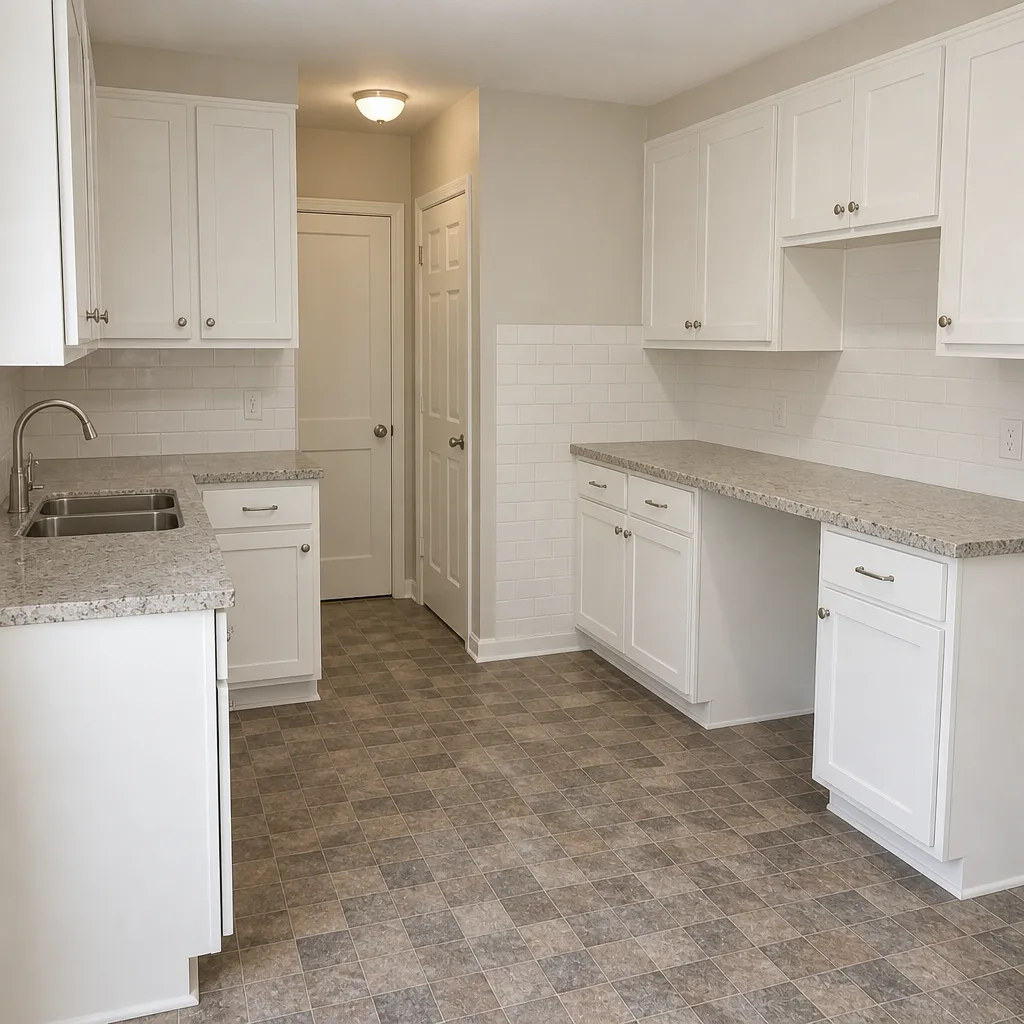 After
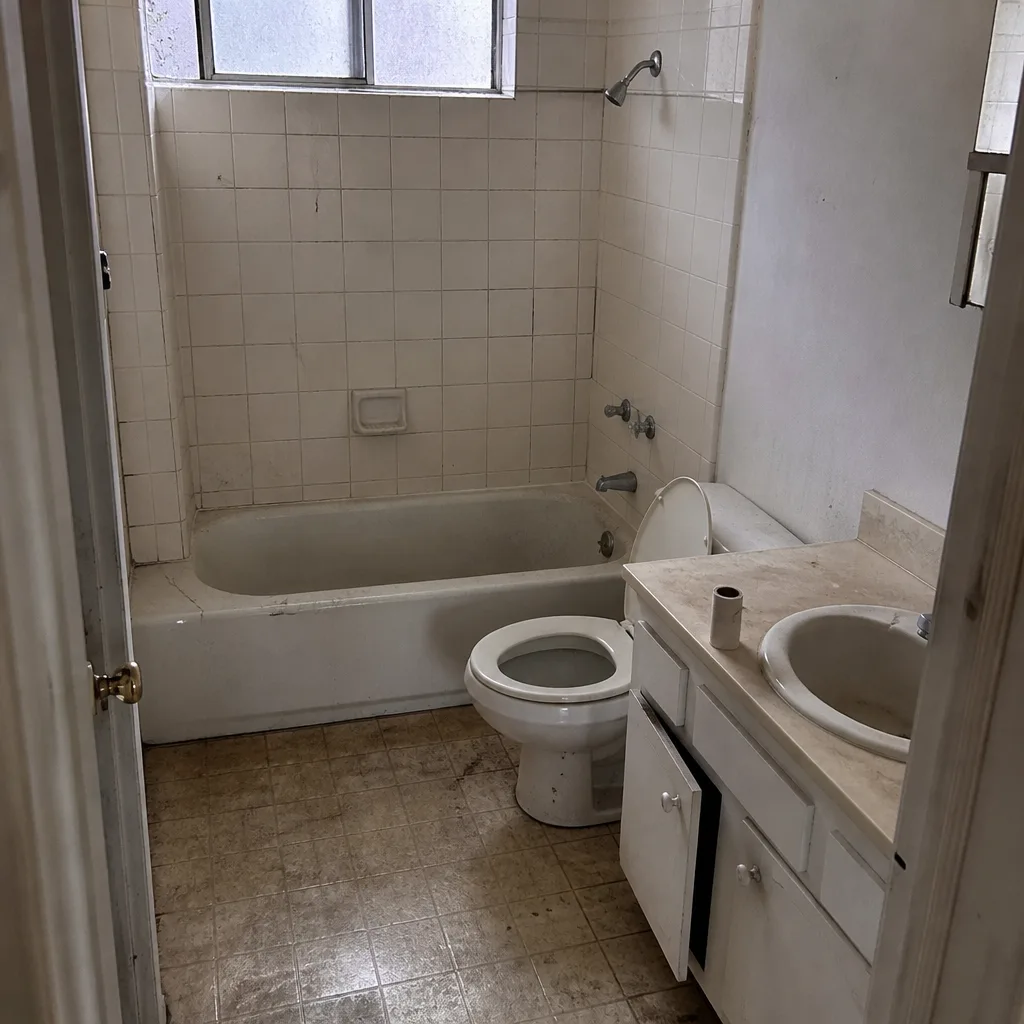 Before
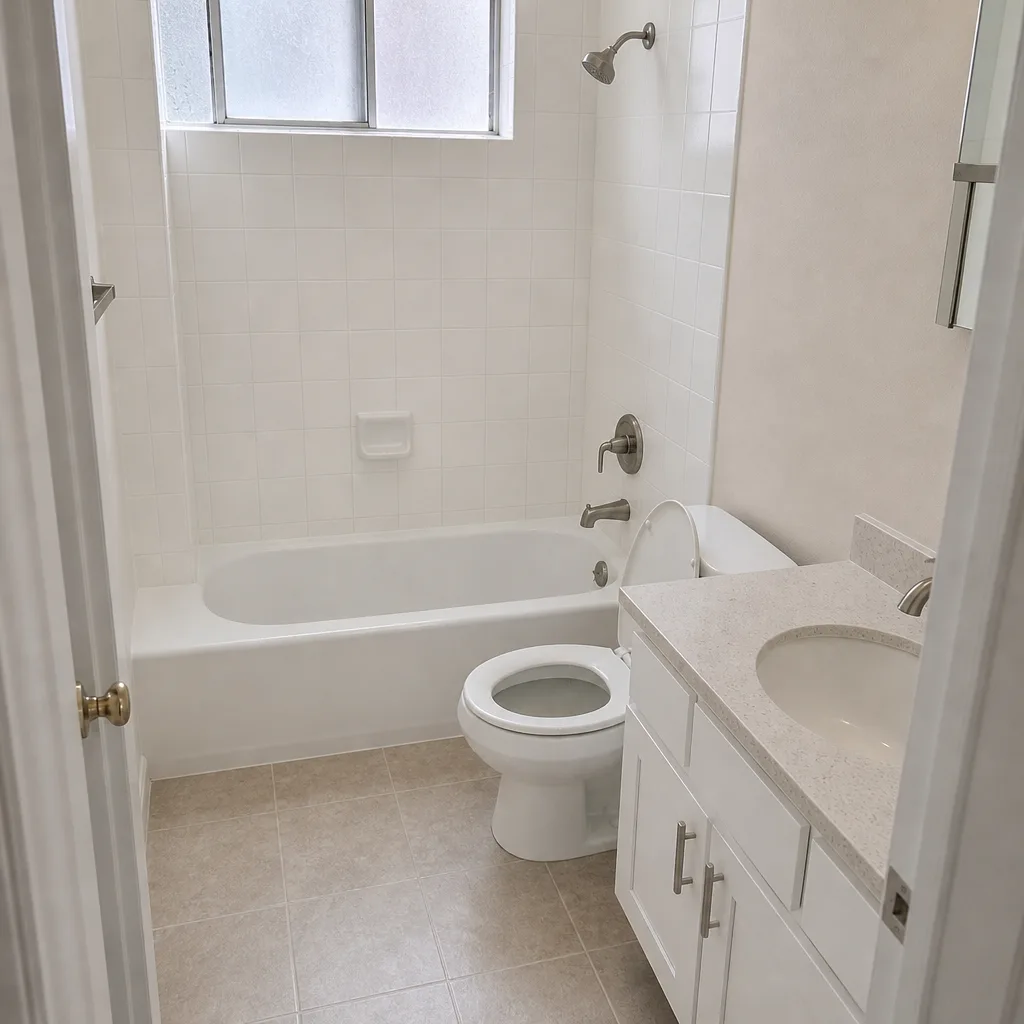 After
When to Call a Professional
Call a pro when the driveway has crossed from maintenance into repair: settlement over half an inch, rocking pavers across a wide area, restraint separation, or water pooling after rain. Call a pro for sealing if you want it done once with proper surface temperature control and material spec – October jobs done right last years longer than summer jobs done wrong. Call a pro for joint sand on any driveway larger than a single-car surface, since compaction with the right equipment is what makes the sand hold. And call a pro before the first heavy winter rain if you see open joints anywhere near the perimeter. Groundwork Construction Co. of Enterprise offers free estimates in Enterprise – call (844) 797-4406. We answer live, 24/7, and we’ll tell you honestly whether you’re looking at maintenance or repair.
Frequently Asked Questions
Twice a year for a full top-off in most Enterprise driveways: once in March or April, and a lighter touch-up in October after cleaning and before sealing. UV exposure here breaks down the sand binder faster than in most climates, so the schedule is tighter than the general advice you’ll find online.
Not safely. Paver surface temperatures in June routinely hit 140°F or higher in full sun, which is well beyond what any sealer is designed to cure in. Sealer applied to a surface that hot will bubble, flash off before leveling, and start peeling within a season. Wait for the October window, typically between mid-October and mid-November.
Plan on $600 – $1,200 per year for a well-maintained two-car driveway, covering a spring sand top-off, an October clean and seal, and a quick winter inspection. Skipping those tasks is cheaper for one year and much more expensive over five, since a full re-level typically runs $3,000 – $6,000+. Call (844) 797-4406 for a line-item estimate on your specific driveway.
Look for a gap between the edge pavers and the restraint, edge pavers that rock underfoot, cracked restraint along the curb line, or joints that look wider at the edge than in the middle. Any of those means the field has started to move. Catch it early and it’s a small repair; wait and it cascades inward.
Yes, but correctly. A gentle wash with the right tip at low pressure removes dirt and old sand residue. High-pressure washing on pavers strips fresh joint sand, chips the paver face, and can drive water into the bedding layer. If you’re hiring the job, ask what pressure the crew uses; a professional answer is specific.
A properly installed paver driveway with the maintenance schedule in this guide typically holds its level and color for 25 to 30 years or more. The pavers themselves are durable; what determines lifespan is the joint sand, the sealer, and the edge restraint – the three things maintenance protects.
The Bottom Line
Enterprise paver care comes down to three tasks at three times of year. Top off joint sand in spring. Clean and seal in October, not June. Inspect the edge restraint every winter. Do those and a paver driveway holds level and holds color for decades. Skip them and you spend the money twice – once on the driveway and again on the repair. The other thing to hold onto: every number in this guide is real, and a free estimate on your specific driveway is the fastest way to know where you stand. Our team offers that at no cost, with real people on the line 24/7 and upfront pricing with no surprises.
Ready to get your Enterprise driveway on a schedule? Call Groundwork Construction Co. of Enterprise at (844) 797-4406 for a free estimate and a straight answer on what your driveway actually needs this season.
Written by the team at Groundwork Construction Co. of Enterprise.