Last updated November 18, 2026


Free written scope consultation - allowances, timeline, and change-order rules on paper before a single trade is scheduled
Driveway & Pavers Troubleshooting: Common Problems and How to Fix Them
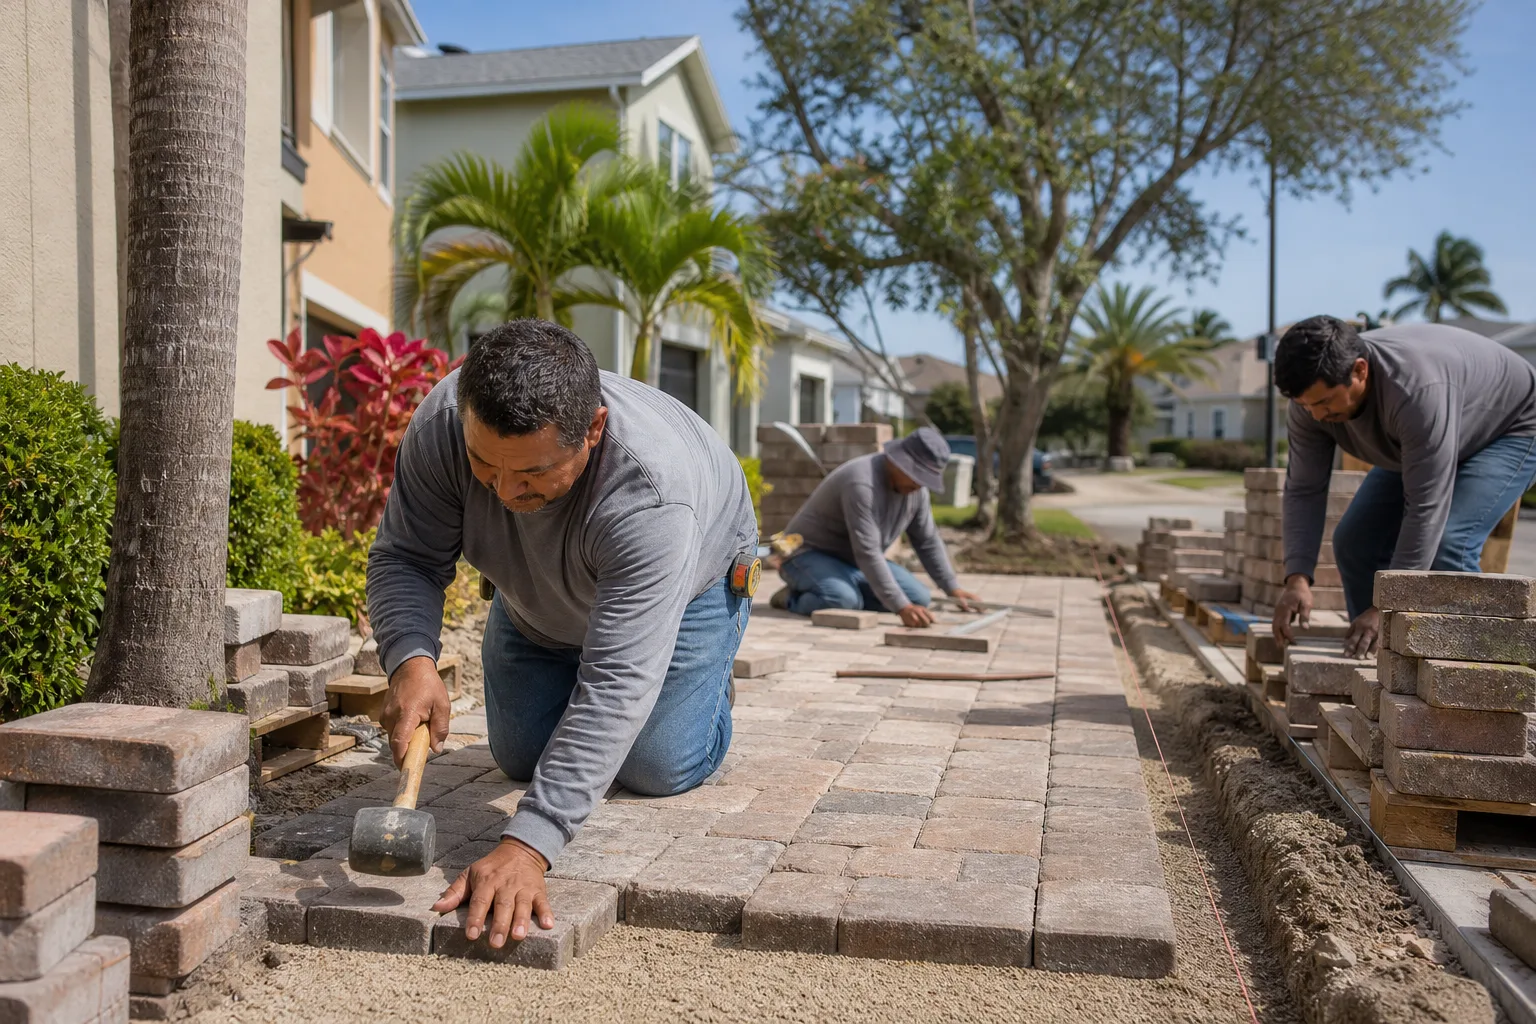
A single sunken paver isn’t a paver problem. It’s a base problem. And if you just lift that paver, toss fresh sand under it, and set it back down, you’ll be back on your knees in about 18 months fixing the same spot. That’s the thing most homeowners get wrong. They treat the symptom because the symptom is what’s visible. In our experience across Enterprise, nearly every paver complaint traces back to one of three root causes: a base that wasn’t compacted right, water that has nowhere to go, or materials that were never suited to the job. This guide shows you how to tell which one you’re dealing with, which repairs you can genuinely handle yourself, and which ones are a sign your original install cut a corner.
Quick Answer
Most driveway paver problems come down to three root causes: inadequate base compaction, poor drainage, or substandard installation. Surface fixes like re-sanding joints or re-leveling a single paver work for minor settling, but recurring sunken areas, widespread cracking, and pooling water mean the base is failing and the driveway needs to be rebuilt from the subgrade up. Matching the fix to the actual cause is what keeps you from paying twice.
Styles & brands we work with
- Kitchen remodeling
- Bathroom remodeling
- Home additions & ADU
- Roofing
- Windows & doors
- Driveway & pavers
- Fence
Table of Contents
- Surface Settling vs. Base Failure: How to Tell the Difference
- What Your Cracking Patterns Are Telling You
- How to Re-Level a Sunken Paver Without Wrecking the Field
- Efflorescence: Cosmetic or a Sign of Drainage Failure?
- Joint Sand Loss and Weed Growth
- Why Enterprise Conditions Are Hard on Pavers
- How to Document Problems and Hold a Contractor Accountable
- Repair or Replace? A Decision Framework
Surface Settling vs. Base Failure: How to Tell the Difference
These two problems look almost identical from standing height, which is exactly why so many homeowners misdiagnose them. The difference is depth. Surface settling is the top inch or so of bedding sand shifting under a paver or two, usually after a hard freeze or a season of heavy traffic. The pavers themselves are intact. The joints are tight. One or two stones sit a quarter-inch low. That’s cosmetic and it’s fixable in an afternoon.
Base failure is different. The compacted gravel layer underneath has lost its density, either because it was never compacted in lifts to begin with or because water has been working its way under the pavers for years. When the base goes, you get a whole area sinking together, not one stone. The pattern is the tell.
Here’s how to sort them out before you touch anything:
- Tap test. Tap each suspect paver with a rubber mallet. A dull thud means the stone is sitting on a void. A crisp click means the bedding is solid and the whole field has dropped together.
- The straightedge check. Lay a 4-foot level across the sunken area and the surrounding field. If only one paver is low, you have surface settling. If the dip spans three or more pavers in a bowl shape, the base is failing.
- Look at the joints. Sand joints that stay tight around a low paver point to isolated settling. Wide, washed-out joints around the dip point to water moving under the field.
- Watch after rain. If the low spot holds water for more than a few hours, drainage is the root cause and re-leveling the pavers alone won’t fix it.
We’ve pulled up plenty of driveway pavers in Enterprise where the homeowner had re-sanded the joints twice and reset the same two stones three times. Every one of those was a base problem wearing a surface problem’s clothes. If the dip keeps coming back within a season or two, stop re-leveling and start investigating what’s underneath.
What Your Cracking Patterns Are Telling You
Cracks leave a paper trail. Where they appear, and whether they show up in the bedding sand or in the paver itself, tells you something specific about how the driveway was installed.
Cracks in the pavers themselves
When a paver stone cracks, it’s usually one of three things. First, a paver laid on an uneven or voided base takes a point load and snaps. Second, pavers installed too tight against a rigid edge restraint will crack along the boundary as the field expands and contracts. Third, a paver that was already chipped or flawed when it went down will split along that weakness under vehicle weight. None of these are wear-and-tear. They’re installation quality issues.
Cracks and gaps in the sand bed
Widening joints and sand that keeps washing out of the same zone are the signature of a drainage failure or a base that’s shifting. In a properly built driveway, the joint sand locks the field together into a single load-spreading mat. When sand keeps disappearing from one line of joints, water is running through that seam and carrying it away. Left alone, that seam becomes the failure line where the driveway eventually separates.
In our experience working across Enterprise, we see this most often on driveways that were laid flat or graded toward the house rather than away from it. The installer skipped the slope because it’s easier, and two winters later the water damage shows up as a straight line of washed-out joints. If your cracks line up in a row, get a straightedge out and check the slope. That’s a rebuild-level problem, not a patch. Our Driveway & Pavers in Enterprise page walks through how proper subgrade and restraint work should look on a new install, and it’s worth comparing against what you’ve got.
How to Re-Level a Sunken Paver Without Wrecking the Field
This is the one repair most homeowners can genuinely do themselves, provided you confirmed in the previous section that it’s isolated surface settling and not base failure. The mistake people make is prying out the sunken paver and shoving sand under it, which works for about a season and usually loosens the pavers around it. Do it right and it holds.
- Mark the perimeter. Use chalk to outline the sunken paver plus the two or three pavers around it. You’ll want room to work without disturbing the field.
- Remove the joint sand. A stiff brush and a shop vac get the joint sand out of the way. Save it in a bucket if it’s clean.
- Lift the pavers with a paver puller or two flathead screwdrivers. Work from the outer edges of your chalk line inward. Lift straight up. Don’t lever against neighboring stones, and don’t drag a paver across the field.
- Check what’s underneath. If the bedding sand is thin, dry, or missing and you can see uneven gravel, stop here. That’s a base problem and belongs to a pro. If the bedding is intact and just low, carry on.
- Re-level the bedding. Add a thin layer of coarse concrete sand, screed it flat with a board, and compact it with a hand tamper. Aim to bring the paver surface about 1/8 inch above the neighboring pavers. It settles in.
- Set and vibrate. Lay the pavers back in, check the pitch with a straightedge, and run a plate compactor with a rubber pad over the repaired area to seat them.
- Re-sand the joints. Dry sand swept into the joints and misted in. Repeat until the joints stay full.
A few honest warnings. If the paver is bigger than 12 inches or the repair area is more than two square feet, just call a pro. And if you’re near a retaining edge, a step, or the apron where the driveway meets the street, getting the alignment wrong creates a trip hazard or a water trap that costs more to fix than the original problem.
Efflorescence: Cosmetic or a Sign of Drainage Failure?
Efflorescence is the white, chalky mineral bloom that shows up on paver surfaces, and it’s the number one thing homeowners ask about. The short answer: it’s salt, and salt comes from water moving through the concrete from underneath. If the water has a way out, the bloom is cosmetic and it fades. If it doesn’t, the bloom will keep returning no matter how many times you scrub it off, and that’s the signal that water is pooling under the field.
Here’s how to tell them apart:
- Efflorescence in the first season after install. Normal. New concrete sheds excess salts as it cures. It fades within a year, especially if you clean with a mild acid wash formulated for pavers.
- Efflorescence returning on one area year after year. Drainage problem. The bloom is following the water.
- Efflorescence along a joint line or a boundary. Water is entering at that seam. Check the slope and the joint sand in that zone.
- Efflorescence accompanied by rust-colored staining. That’s two problems: mineral bloom plus oxidizing metal, usually a buried nail, rebar piece, or the iron in a low-grade paver. Replacing the stone is the only real fix.
The bottom line is that efflorescence tells you where water is. If it’s clustered and repeating, treat it as a drainage report card and go looking for the source before you scrub. In Enterprise, where we get intense rain in a short window and long dry spells in between, the cycle accelerates the bloom. Many of the calls we get about white staining trace back to a driveway that was graded lush toward the house with no positive fall to the street. That’s a rebuild fix: re-establishing slope and adding a channel drain or a scuppered edge. Our Groundwork Construction Co. of Enterprise home page shows how we scope drainage work like this before we ever break ground.
Joint Sand Loss and Weed Growth
Joint sand is structural, not cosmetic. It’s what locks pavers together into a load-spreading surface. When it washes out or breaks down, pavers rock under tires, edges chip, and weeds take root in the seams. The fix is re-sanding with the right product and the right technique. Here’s how we approach it.
- Deep-clean the joints. Pressure-wash at a low angle (below 30 degrees) to avoid scorching the surface and to blast out old sand and organic debris. Let it dry for 24 hours.
- Choose the right sand. Standard silica sand is fine for a residential driveway in a mild climate. In Enterprise where freeze-thaw cycles happen, a polymeric sand or a stabilized joint sand holds up far better and resists weed growth.
- Sweep it in dry, then mist it in. Spread sand across the field, sweep it into the joints in multiple directions, and mist with a fine spray. Repeat until the joints stay full to just below the paver surface.
- Compact and let it cure. Run a plate compactor with a rubber pad after the final pass, then stay off the driveway for 24 hours. Polymeric sand needs the full cure time.
If you’re re-sanding the same zone for the third time in as many years, the loss points to a base problem or a drainage failure, not a sand quality problem. Re-sanding is a symptom fix. The base is the cause. Our Fence Installation in Enterprise guide has a similar troubleshooting section on post-base failure, and the principles transfer: surface is surface, base is base, and the water always finds the cheapest way out.
Why Enterprise Conditions Are Hard on Pavers
Enterprise isn’t a gentle climate for hardscape. The region gets intense summer heat that swings more than 40 degrees between day and night, and that thermal cycling works on both the pavers and the base underneath. Concrete pavers expand and contract with temperature, and the field is only held together by the joint sand and the edge restraint. If either is compromised, the whole mat starts to move.
We also see long dry spells followed by intense rainfall events. That combination is brutal on a base with any weakness. During dry periods the subgrade shrinks, opening hairline voids under the bedding layer. Then two inches of rain in an hour fills those voids and the pavers drop. Homeowners in Enterprise will tell us the driveway “suddenly” sank, and the truth is that the settling was months in the making. The rain was the trigger, not the cause.
What this means practically:
- Edge restraint matters more here than in milder climates. A properly pinned concrete or steel edge restraint keeps the field from spreading under thermal expansion. Without it, the pavers creep outward and the joints open up within a season or two.
- Compaction is non-negotiable. The base gravel needs to be placed and compacted in lifts of about 2 inches, not 6. Cutting this corner is the number one reason Enterprise driveways fail early.
- Drainage has to leave the property. A slope of 1 percent minimum away from the house, plus a channel drain at the apron, handles the rain events we get in Enterprise. Driveways graded flush or flat will hold water.
If you’re planning a driveway in Enterprise, look for a contractor who’ll let you see the base work before pavers go down. If they won’t, that tells you something. The finished surface is the last 5 percent of the job. The first 95 percent is what determines whether you’re fixing it in five years.
How to Document Problems and Hold a Contractor Accountable
This is the part most homeowners skip, and it costs them. Paver warranties, when they exist, are usually tied to workmanship and materials separately. Material warranties (from the paver manufacturer) often run for decades but only cover the stones. Workmanship warranties cover the installation, and those carry a shorter term, often expressed in years. To claim either, you need to prove the problem isn’t neglect or misuse, and that requires documentation.
Here’s the process we recommend:
- Document the whole job at install. Take dated photos weekly, including the base prep, compaction, edge restraint, and finished surface. A photo of the compacted base before pavers go down is worth a lot if there’s ever a warranty question.
- Log every new problem. Date, describe, photograph, and note weather and traffic conditions. A repeated pattern over months is much stronger than a single complaint.
- Report in writing. Email the contractor. Text and calls get lost. An email chain creates a timeline that a warranty department or small-claims court will accept.
- Know your warranty terms. Ask for a physical copy. If it says workmanship is covered for 2 years and you’re at 30 months, you need to know that before you call.
- Get a second opinion early. If the contractor won’t come out, get a written inspection from a different installer. A professional’s assessment of the base is the single strongest piece of evidence in a warranty dispute.
When we do driveway work, we back it with our 730-Day Done Right Promise – if it’s not done right, we make it right – and we put the scope and the guarantee in writing before the first shovel goes in the ground. If you’re shopping for a contractor, ask every one of them: what does your workmanship warranty actually cover, and will you put that in the contract? The answer tells you what you need to know about the crew you’re hiring.
Repair or Replace? A Decision Framework
Not every problem warrants a full replacement, but the threshold is lower than most people want it to be. Here’s the framework we walk customers through.
Repair is the right call when:
- The problem is confined to two or three pavers in one area.
- The base is intact (tap test, straightedge check, joint integrity all look good).
- The failure is cosmetic: joint sand loss, efflorescence, one cracked paver from impact.
- The driveway is less than 5 years old and the warranty is still live.
Replace is the right call when:
- The area of settling spans a zone larger than about 10 square feet, or the settling keeps returning in the same spot after you’ve re-leveled.
- The cracking is widespread and follows lines rather than appearing on isolated stones.
- Drainage failures have created repeated efflorescence or pooling and the slope is wrong.
- The original job is missing edge restraint, or the base was installed in single thick lifts. These are rebuild problems, not repair problems.
- You’re in the same zone for the third time in five years. The math on repairs has already lost.
For full-scope projects, whether it’s a driveway, a Home Additions & ADU in Enterprise, or anything else on the property that’s been compromised by drainage or settling, the fix usually happens below the surface. Ask any contractor you’re considering wherever you are in Enterprise: what’s your subgrade spec, what compaction level do you test to, and what’s your workmanship warranty term? Those three answers separate the real builders from the box sellers. If you’re planning a whole-scope build and need a single partner, our team handles everything from foundation to finish line.
Common Mistakes to Avoid
- Replacing the paver without addressing the base. This is the number one mistake. If the base moved, the new paver will sink in 18 months and you’ll be back on your knees. Fix the base first every time.
- Assuming white staining is always cosmetic. In Enterprise, efflorescence that returns to the same zone year after year is a drainage report. Scrubbing it off and re-sealing is not a fix.
- Prying a paver out with no plan for the neighbors. Prying against the surrounding field loosens the joint sand and the bedding around it. Mark a working perimeter, then lift from there.
- Ignoring edge restraint. Missing or failing edge restraint lets the field creep outward under thermal cycling. It’s a cheap component that fails expensively.
- Not documenting the install in the first place. Homeowners who take weekly photos during a paver install have a massive advantage if a warranty question comes up in year three. The ones who didn’t have almost no leverage.
- Skipping the tap test and going straight to a full replacement bid. We’ve seen homeowners quoted for a full rebuild when the problem was one isolated paver and a washed-out joint line. Diagnose carefully.
- Re-sanding without re-establishing slope. Re-sanding a joint that keeps washing out fixes the symptom and none of the cause. If the same joints wash out over two seasons, the grading under those pavers is wrong.
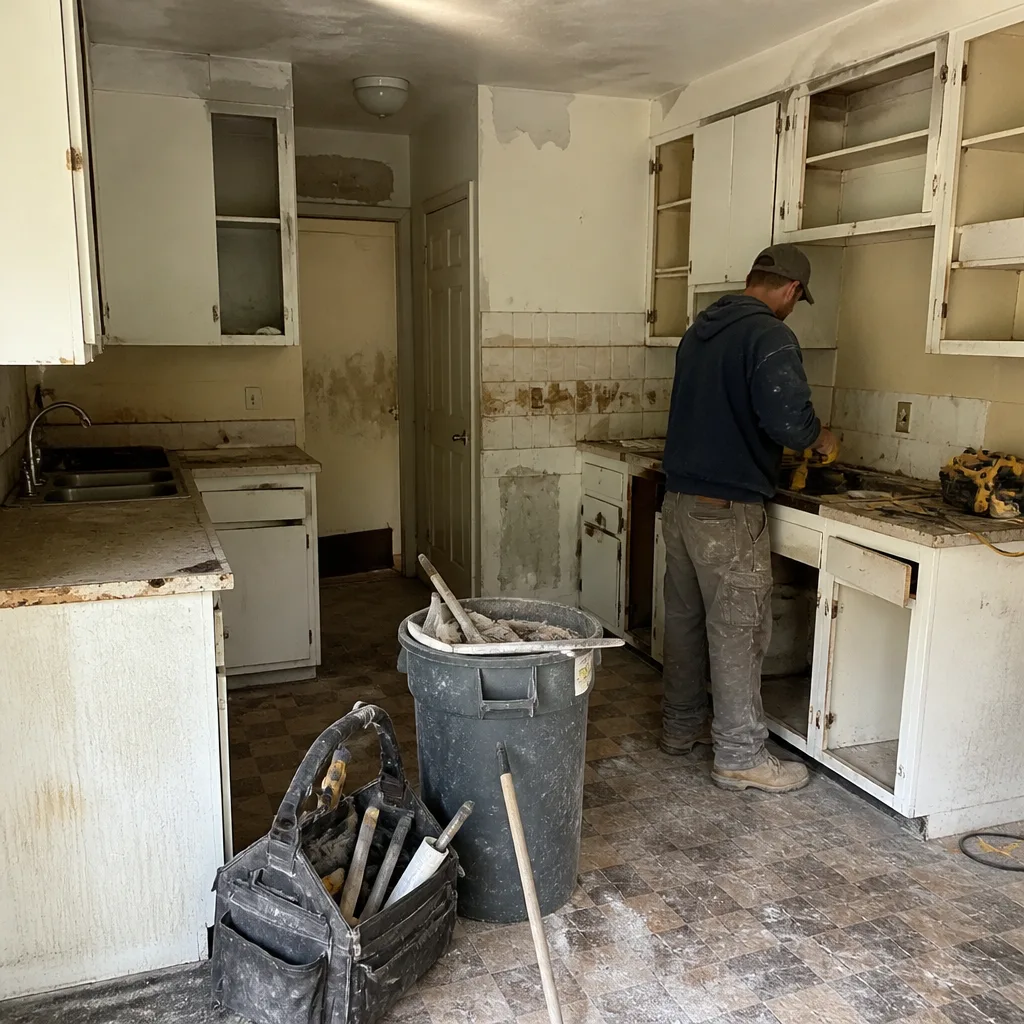
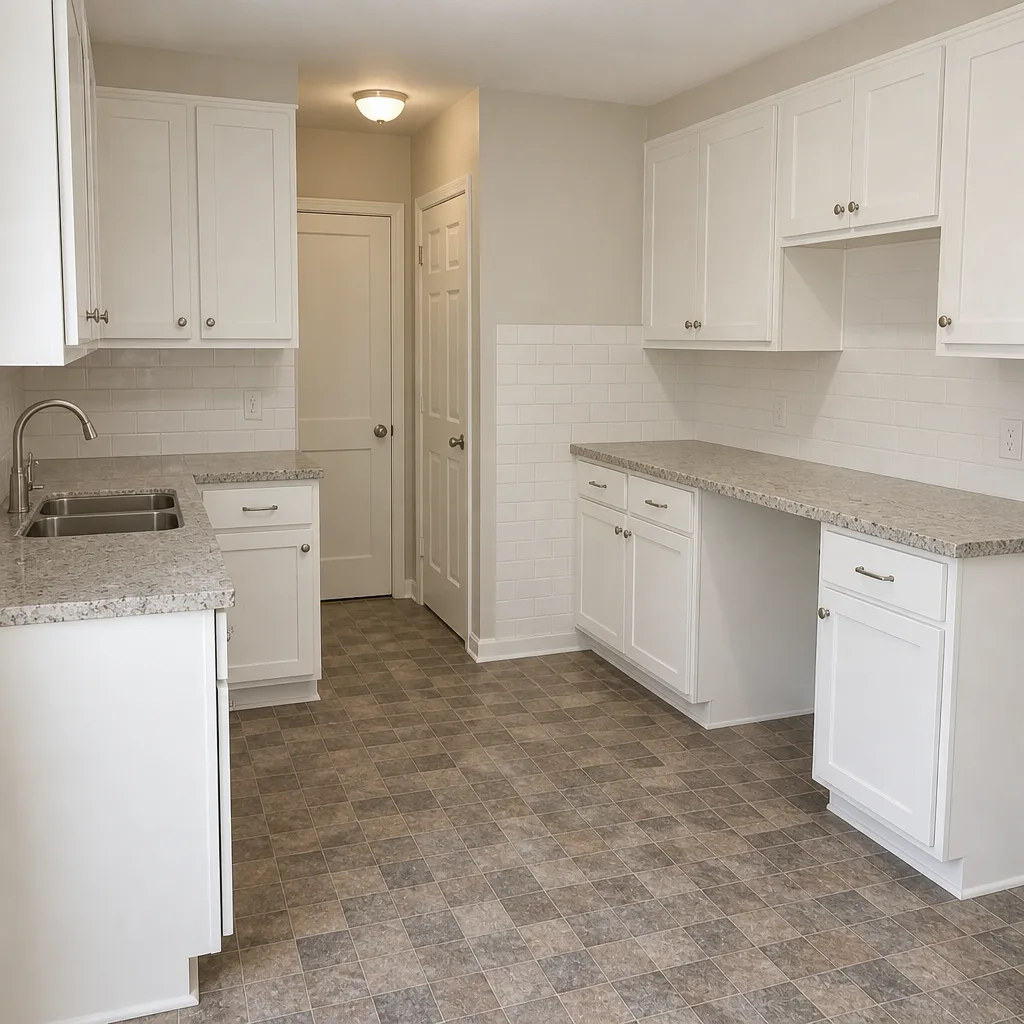
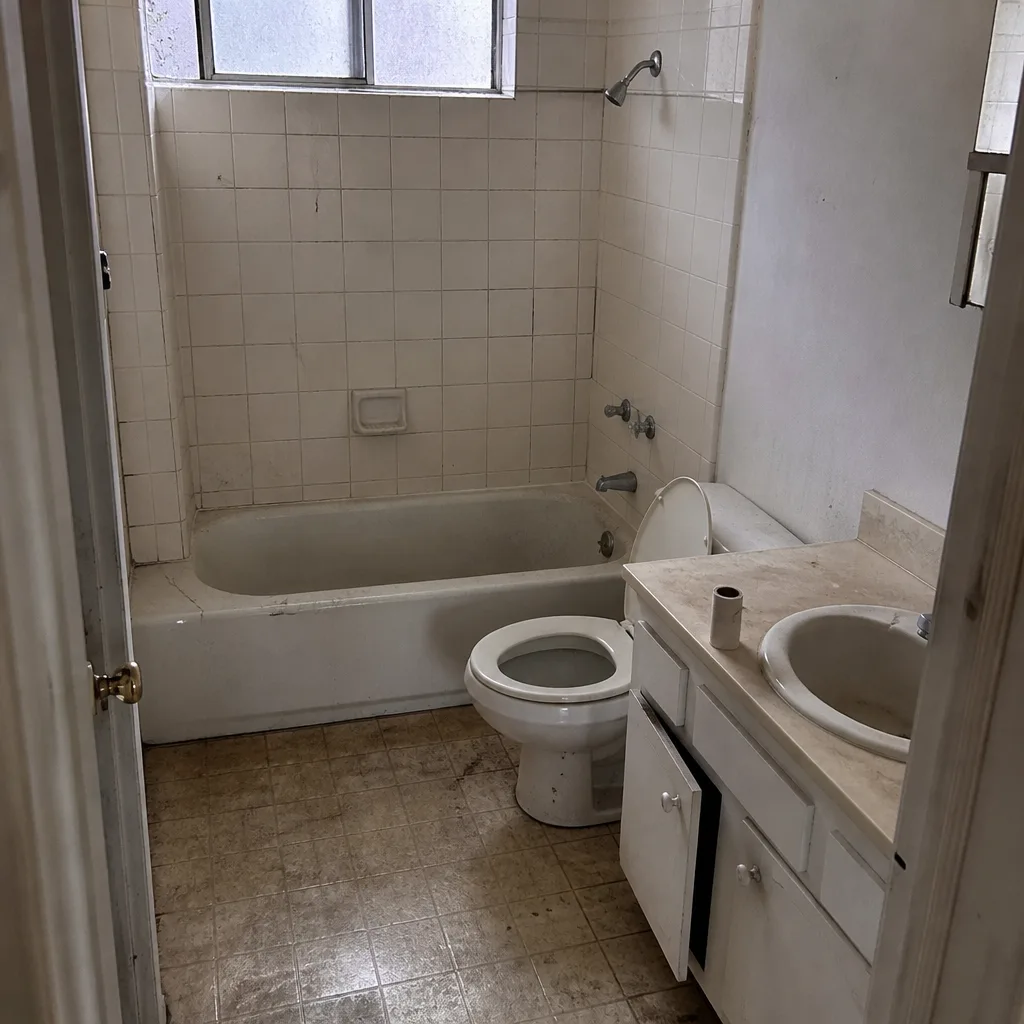
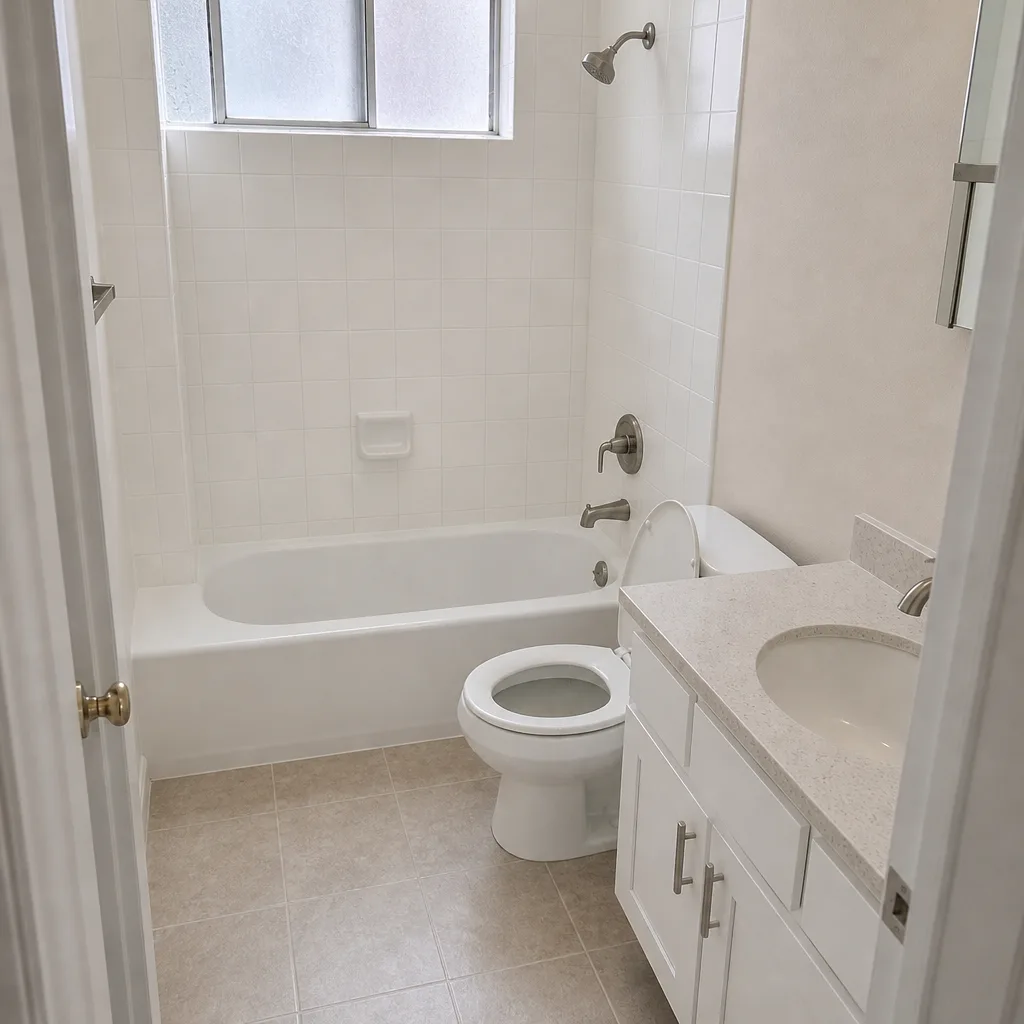
See the difference
 Before
 After
 Before
 After
 Before
 After
When to Call a Professional
Some of these fixes are a homeowner’s afternoon and some are a rebuild. Call a professional if you see any of the following: settling across an area larger than two square feet, a repeated sink in the same spot after a re-level, cracking that follows a line across the driveway, water pooling for more than an hour after rain, or widespread efflorescence that keeps coming back in one zone. Also call if the damaged area is near a retaining edge, a step, or the driveway apron where it meets the street – those spots are trip hazards and water traps, and a bad fix there costs more to undo than getting it right the first time.
Groundwork Construction Co. of Enterprise offers free estimates throughout Enterprise. Our technicians have up to 12 years of experience, we quote upfront pricing with no surprises, and we back work with the 730-Day Done Right Promise. Call (844) 797-4406 to schedule your free estimate, day or night, and a live person will answer.
Frequently Asked Questions
Isolated re-leveling and re-sanding a small area typically runs in the few-hundred-dollar range for labor and materials, while a partial rebuild that involves re-establishing the base and edge restraint runs into the low thousands. A full driveway replacement on a typical two-car driveway is a larger investment, and the exact number depends on size, paver type, and how much subgrade work is needed. Call (844) 797-4406 for an exact quote – estimates are free.
If the root cause is surface-level settling, a proper patch holds. If the cause is base failure or a drainage problem, patching will bring the problem back within one or two seasons. That’s why diagnosis matters more than the repair. Get a straightedge on the area and do the tap test before you decide.
That’s efflorescence, and it’s a mineral salt bloom that arrives on the surface when water moves through the paver. If it appears once after install, it’s cosmetic and fades. If it returns to one area consistently, it means water is trapped under the field and the drainage needs attention. Scrubbing it off will not solve a recurring bloom.
Yes, and it usually takes under an hour. As long as the base under the specific sunken stone is intact, the paver can be lifted, the bedding re-leveled, and the stone reset. If lifting the paver reveals an uneven or hollow base, the repair should expand to that zone.
We scope both repair and replacement work, and we’re honest about which one makes sense. If the base is intact and the fix is contained, we’ll quote the smaller job. If the drainage or base is compromised, we’ll tell you that upfront and show you what the rebuild involves before you commit. Free estimates, upfront pricing, and the 730-Day Done Right Promise back every job.
Missing or failing edge restraint. Second is base failure at the edges, where you can see the pavers settling against the boundary. Third is a field that’s graded flat or toward the house rather than away from it. All three are visible after the first full rainy season, and all three are rebuild-level problems, not patch-level ones.
The Bottom Line
Driveway paver problems almost always trace to one of three root causes: poor base compaction, failing drainage, or substandard installation. Match the fix to the cause and most of the repairs are straightforward. Re-level isolated settling, re-sand compromised joints, and scrub efflorescence once. But if settling keeps returning to the same zone, if cracking follows a line across the driveway, or if white staining repeats year over year, you’re looking at a base or drainage failure and the fix belongs to a professional. Diagnose carefully, document everything, and hold your installer to the warranty in writing. That’s what keeps you out of a rebuild and inside your budget.
For an honest assessment of what’s going on with your driveway in Enterprise, call (844) 797-4406 for a free estimate. Our team walks the job with you, gives you upfront pricing with no surprises, and backs the work with the 730-Day Done Right Promise. Live person, day or night. Built to last, backed in writing.
Written by the team at Groundwork Construction Co. of Enterprise.